


Vw_owner
-
Content Count
346 -
Joined
-
Last visited
Content Type
VR6OC News
Website Content
Profiles
Forums
Calendar
Gallery
Store
Collections
Community Map
Posts posted by Vw_owner
-
-
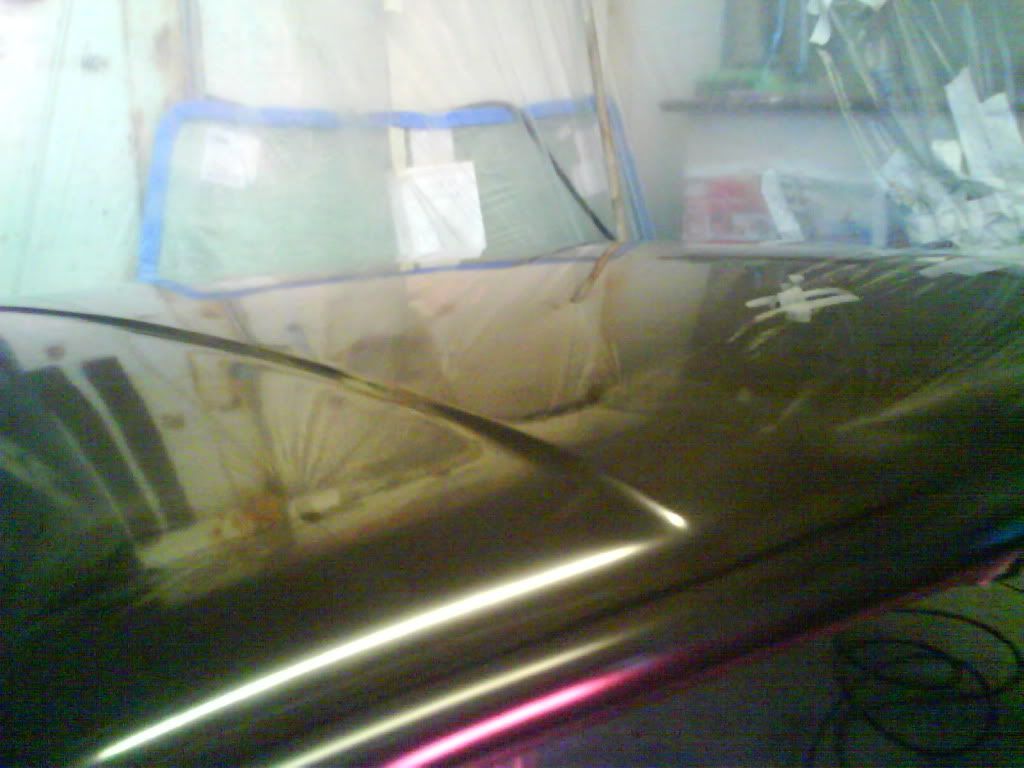
its almost finished and im so stoked!
i can finnaly see my hard work paying off, should be finished next month,
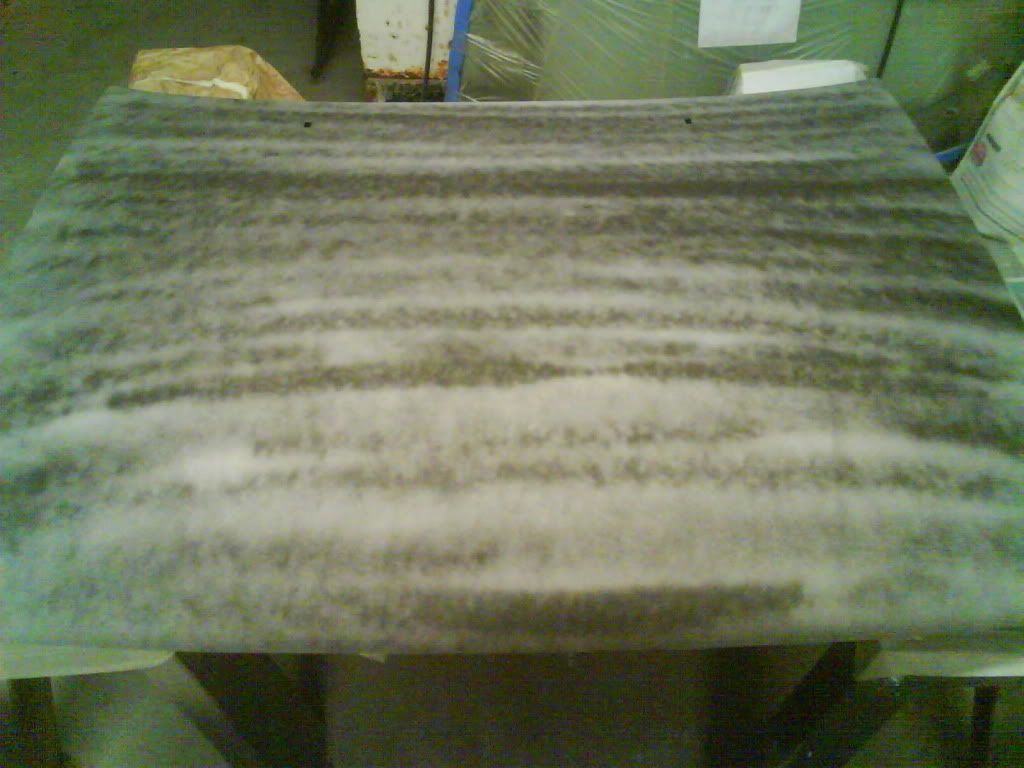
its not all smiles though, i went to do my bonnet and got crazy contamination! i thoroughly cleaned it before i stripped it of its original paint and before i primed and after useing the correct methods and pre wipe , so i put it down to my compressor spitting out oil, a decent new paint filter at the gun sorted it out,

just wiped it all back to the 2k primer with base thinners,
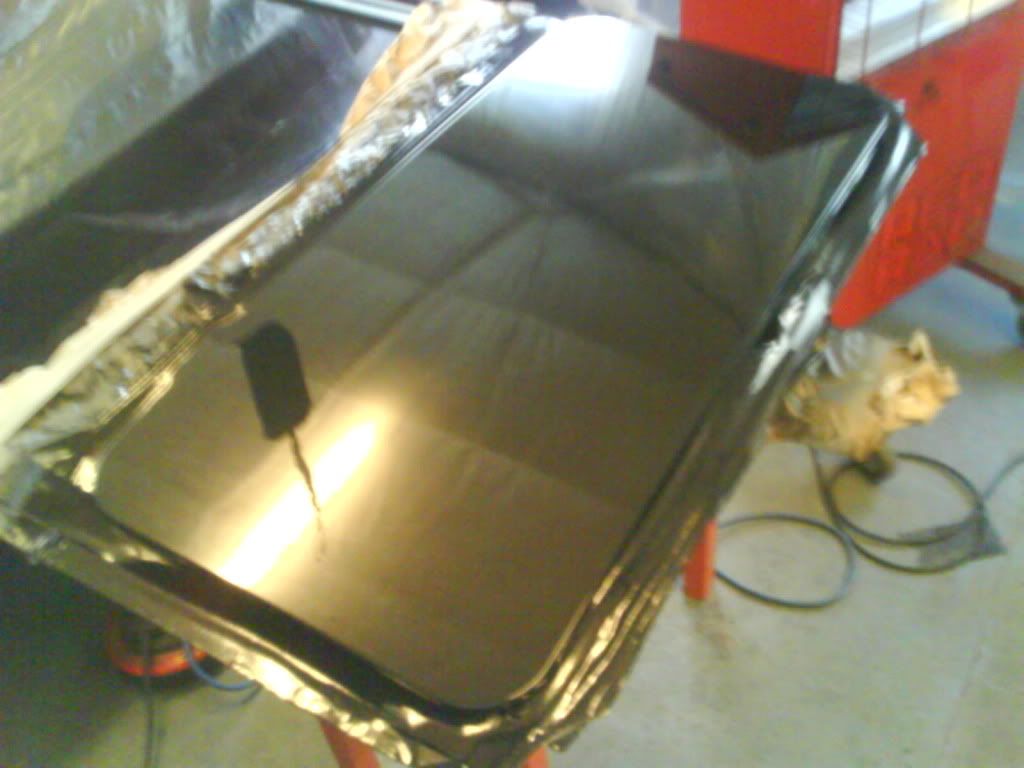
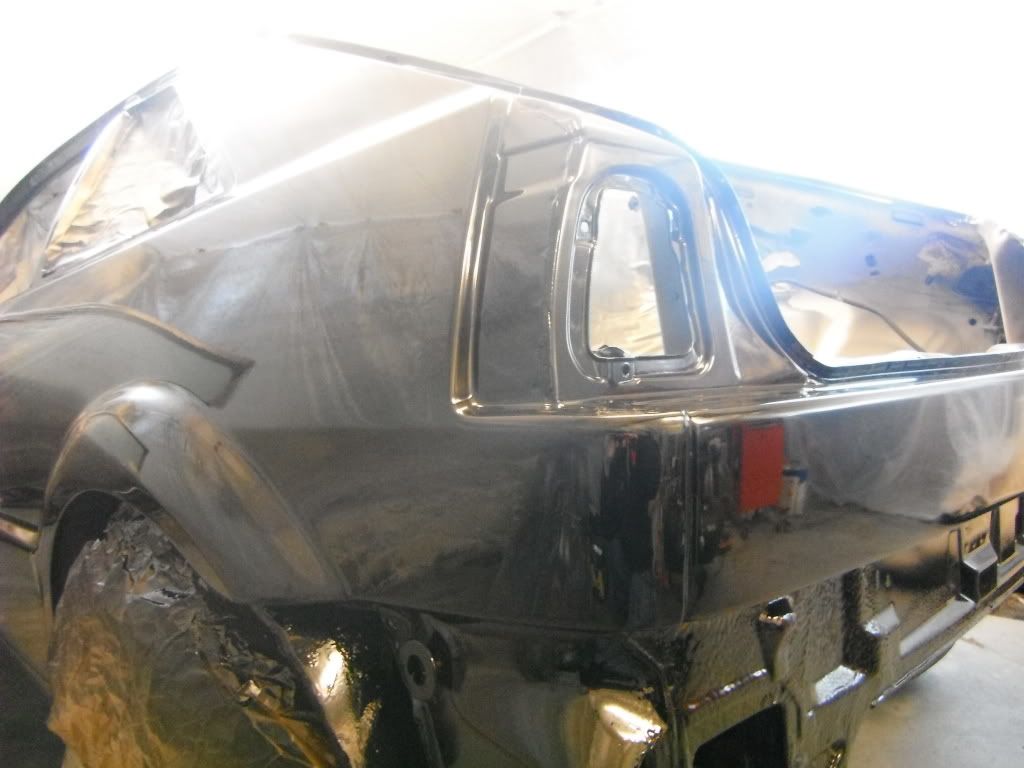
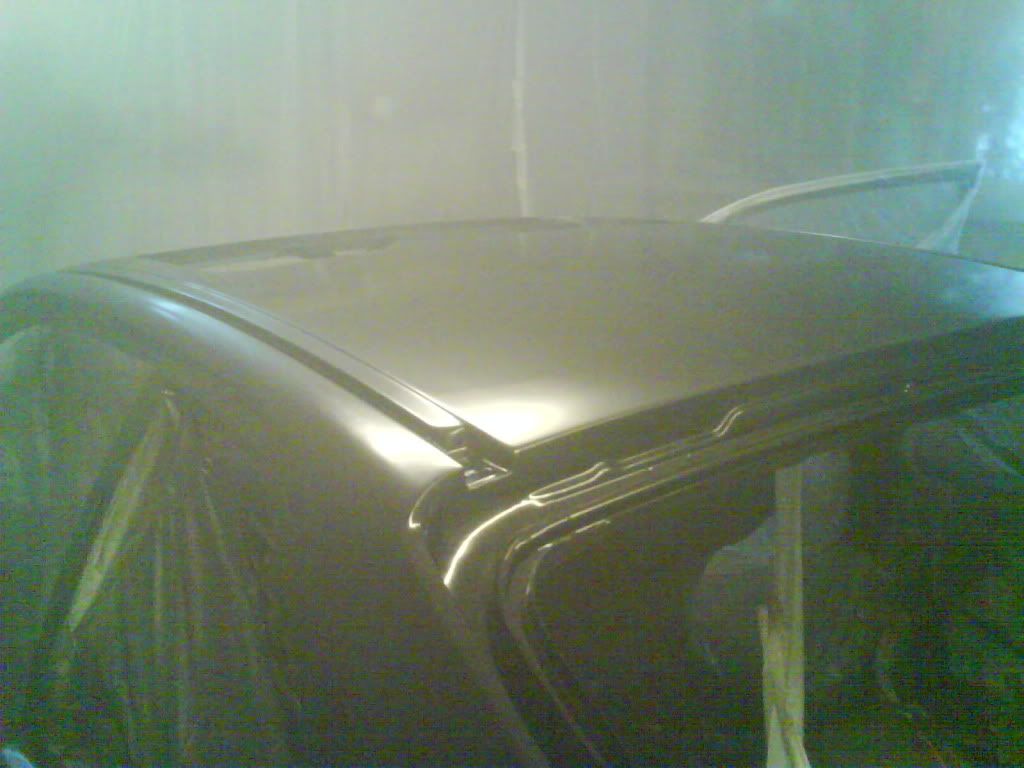
sun roof, in the reflection thats the fuel filler cap,
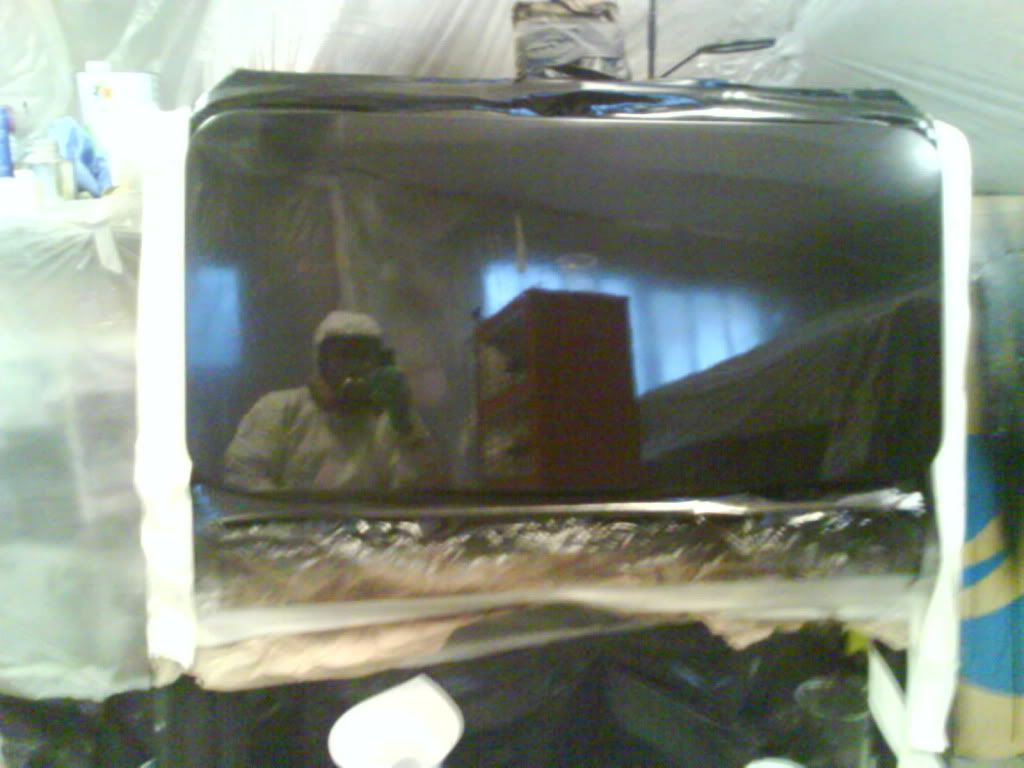
bonnet hinges, was done previously with matt black spray cann, so this is a massive improvment, also assembleing with new stainless bolts
gave my wheels a new look!
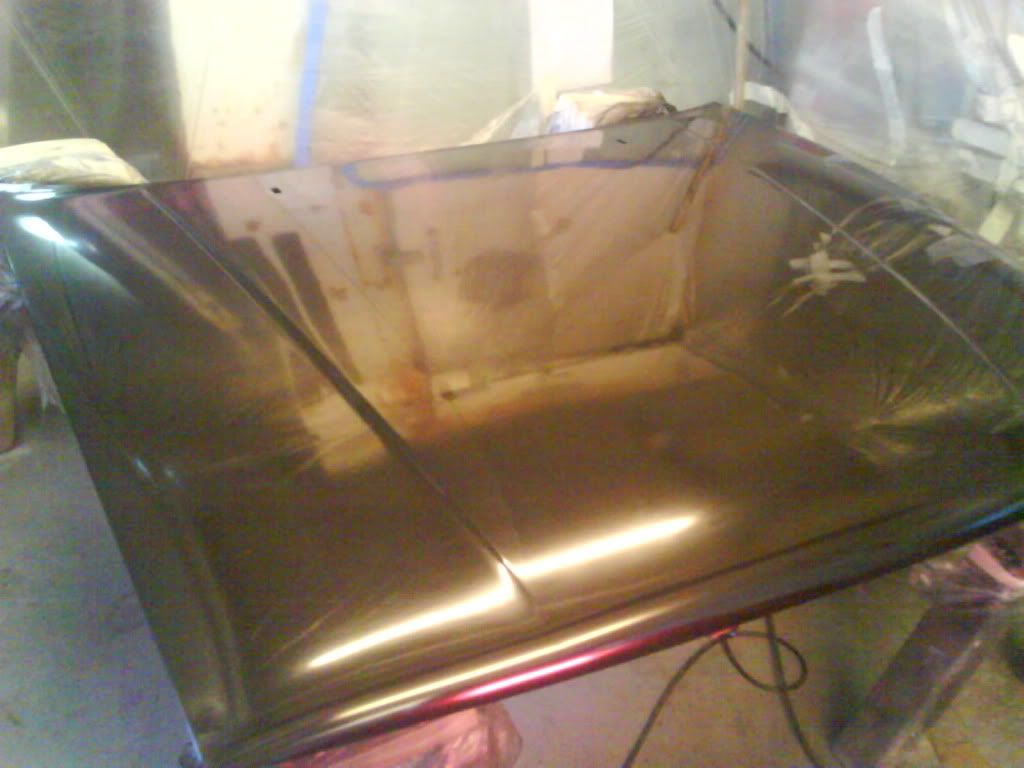
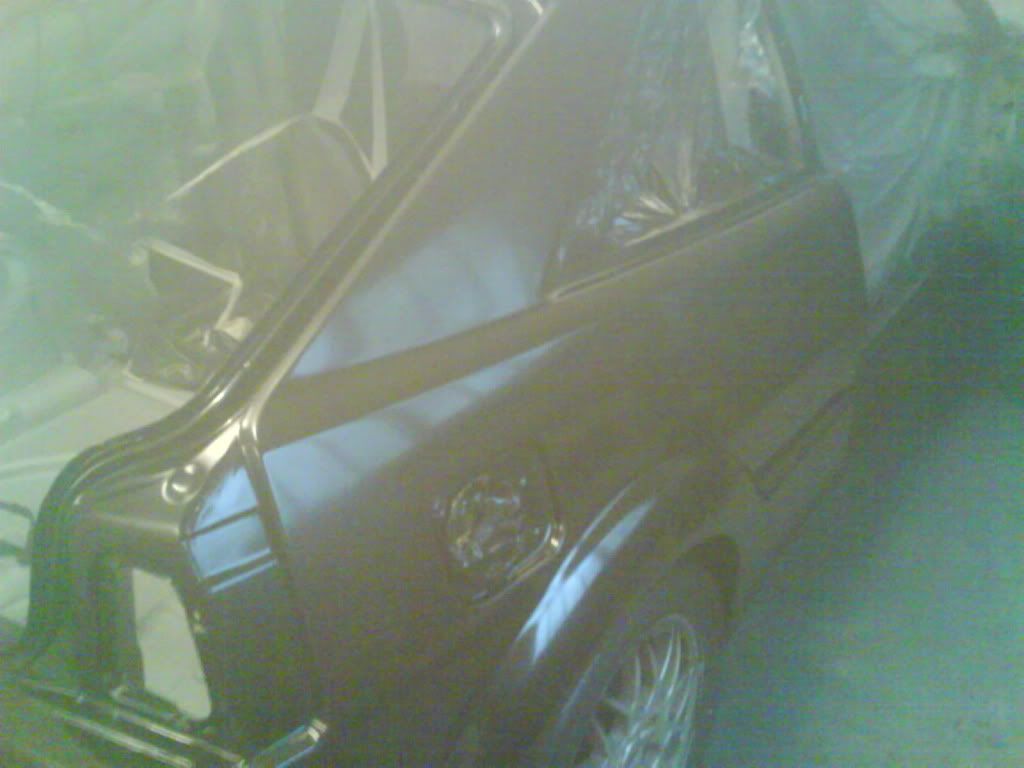
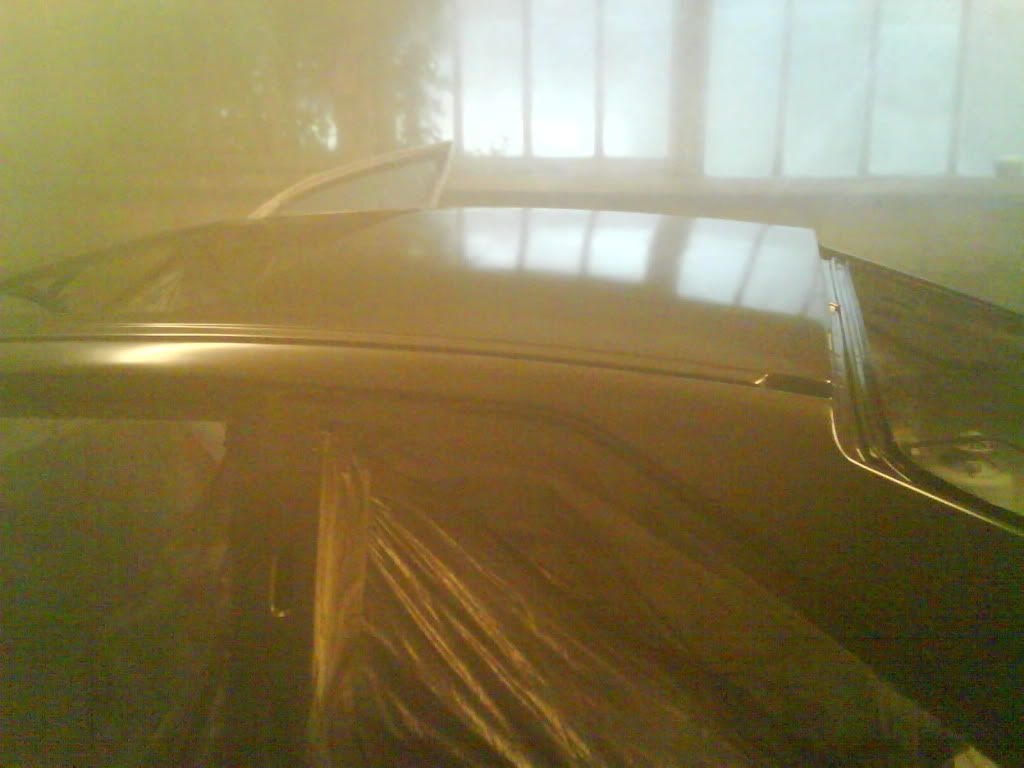
and the car!! so so so happy its not even funny! i had doughts to wether i could pull it off but them doughts flew out the window straight after i put the clear down! these pics were taken the day after i sprayed it, since then
dry spray/overspray and places with orange peel has been sanded out with 1500-2000 paper and buffed
with g3 compound and 3m's imperial glaze, so it looks even better then it does here,
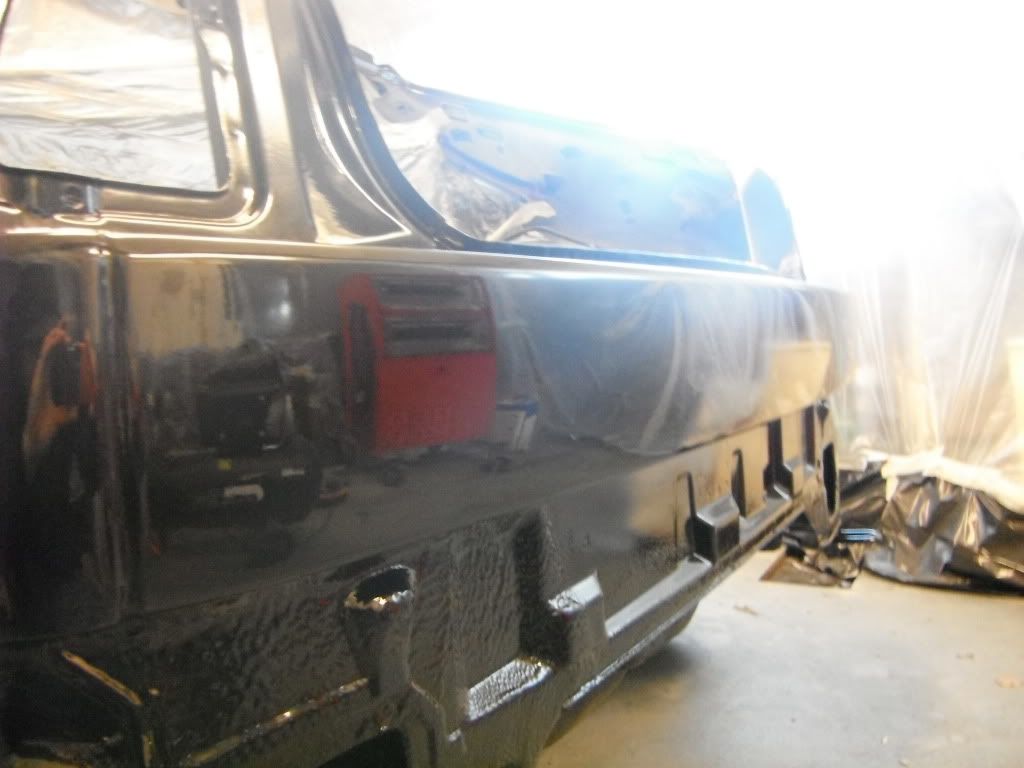
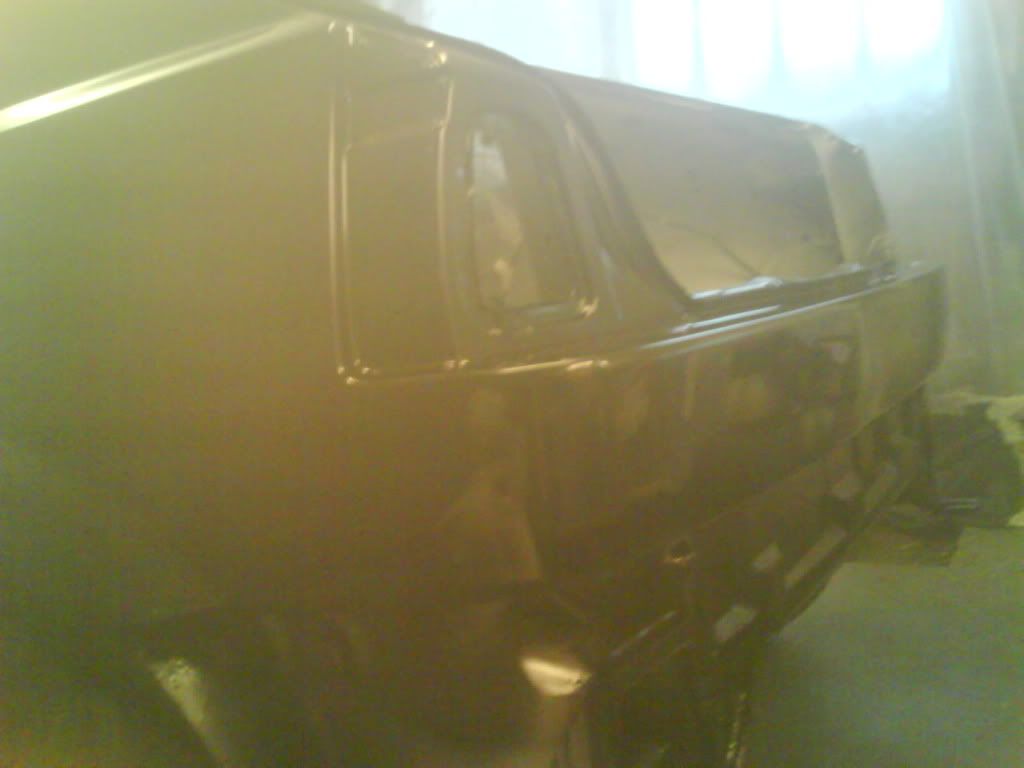
back end is so sweet! no highs or lows from the badge delete,
i thought i would see some highs or divets or a sign of repair on the arch but nothing, looks so good!
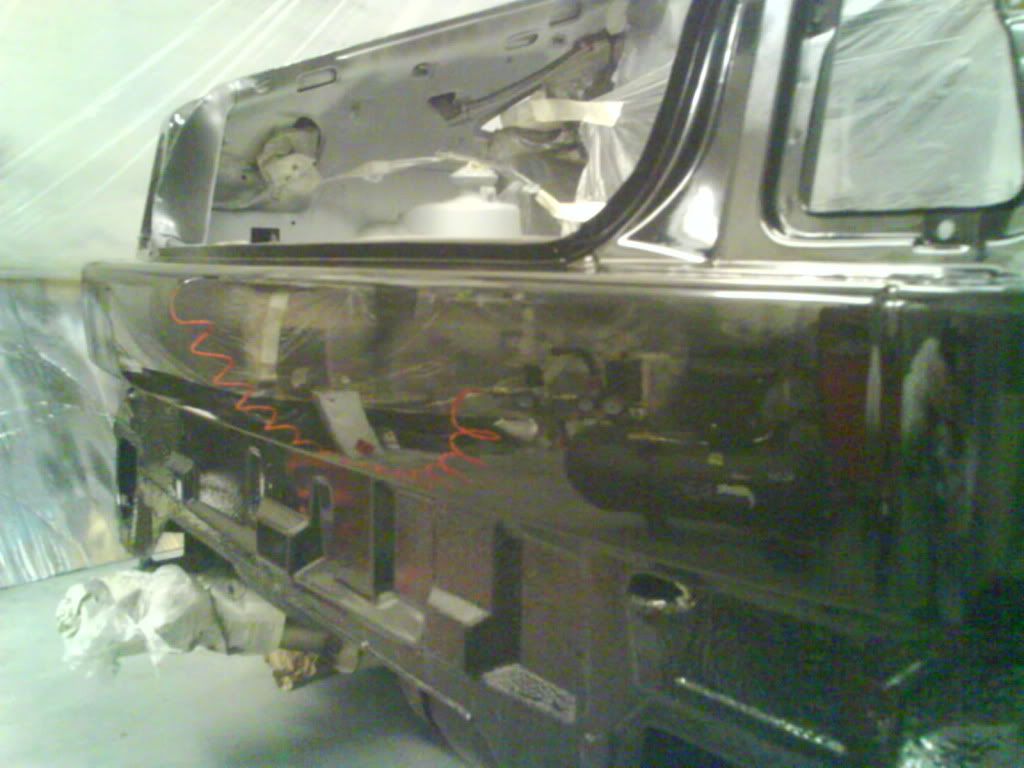
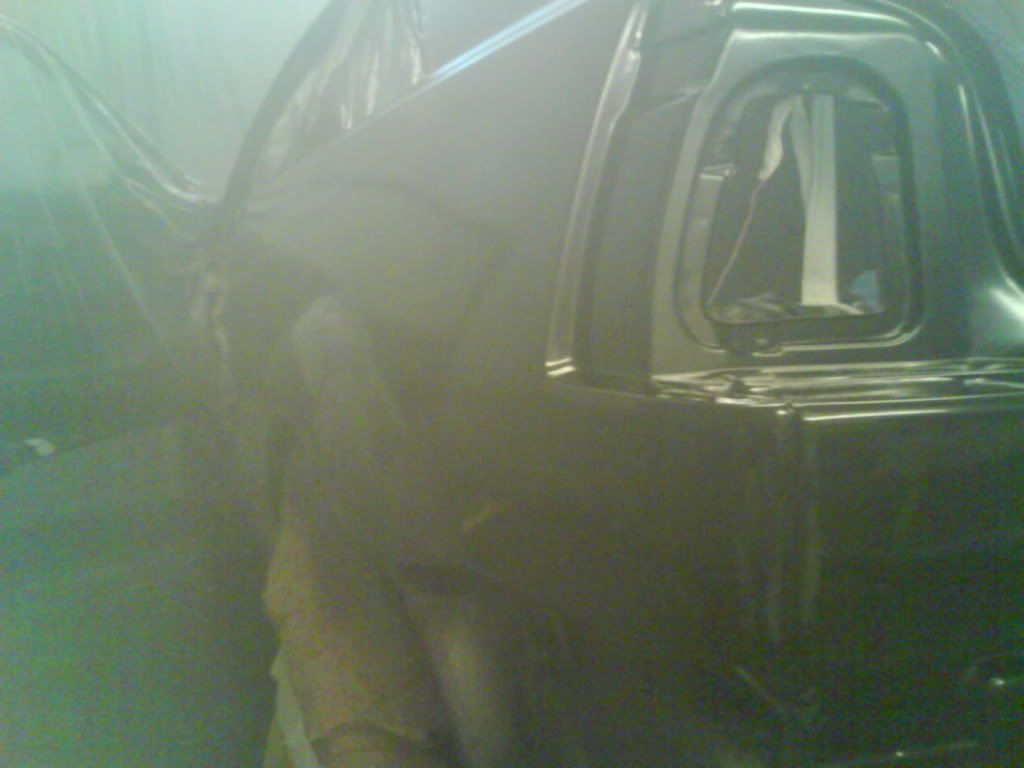
hard bits prety much done, still need to rust repair and spray the tailgate but im not going crazy on that, also doing all red rear lights, and the best bit is iv got my motivation back! i kinda lost it halfway through but im back on it!!
assembleing the car shouldnt take long and its straight forward just need to sort out a windscreen fitter as i dont fancy doing that myself, the quarter glass windows i'll glue in myself though thats prety straight forward and i cant go wrong with that, still need to do both doors but they can wait till the cars driveable and are do them as and when along with the front wings,
-
right problem solved!! thanks to a m8, turns out the rear light bulb holder circuit board was all corroded, cleaned up and also put another earth connection on the un used socket in on the lights and shes sweet!!!
realy glad he found it as it was quite dodgey to drive when its dark..
-
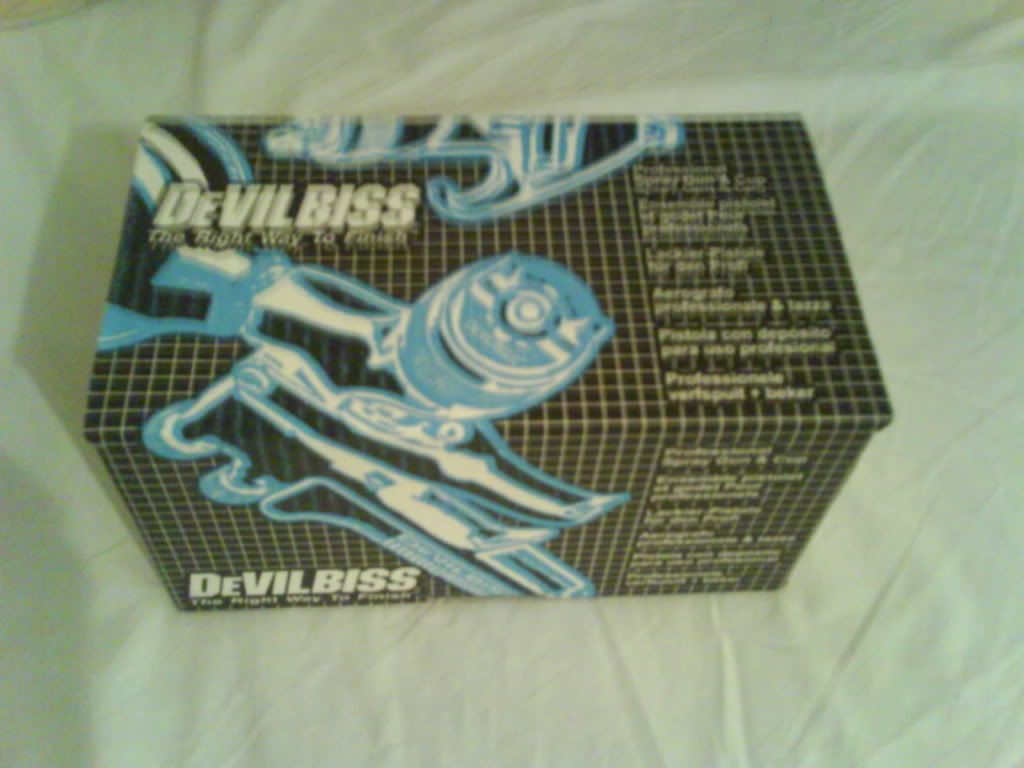
finnaly got around to putting on the basecoat {colour} today, it went prety well, not as well as i was hopeing but the visible panels have turned out prety good, only 3 things which didnt go to plan, slightly scrapped air hose on paint , not bad but will need attention, condensation dripped off my mask on to the passenger side sill! so i gota sand that out! and in a couple of spots there was like contamintion marks which i have no clue where they came from , could of been the resin from my tack cloth but this is mainly on the drivers side door shut/sill so not visible when doors shut, overall im pleased with how the paint layed down, that devilbliss gun is an absolute beast!! compared to the cheap sealey gun, beautiful fan pattern and so smooth to operate, just need sand out those bits and re shoot another coat atleast iv got decent coverage and im halfway there
pics arent great due to the light and i didnt have much space,
it hasnt got its glossy wet finish yet as it still needs its clearcoat
-
prety sure my corrado and my golf vr6 is the same {both obd1}, the fans still come on/off when up to temp, and still work as they should once ign is off, im prety sure the aux pump doesnt after run on both of mine aswell
-
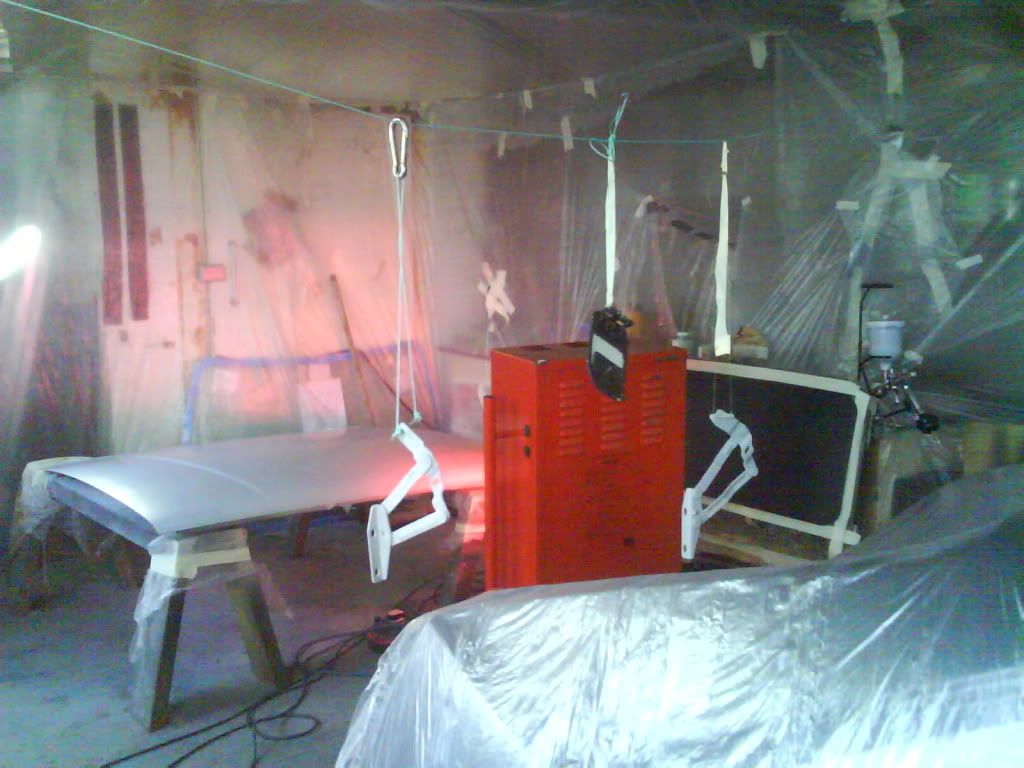
slow progress has been made, im hopeing next week i should be ready for some paint
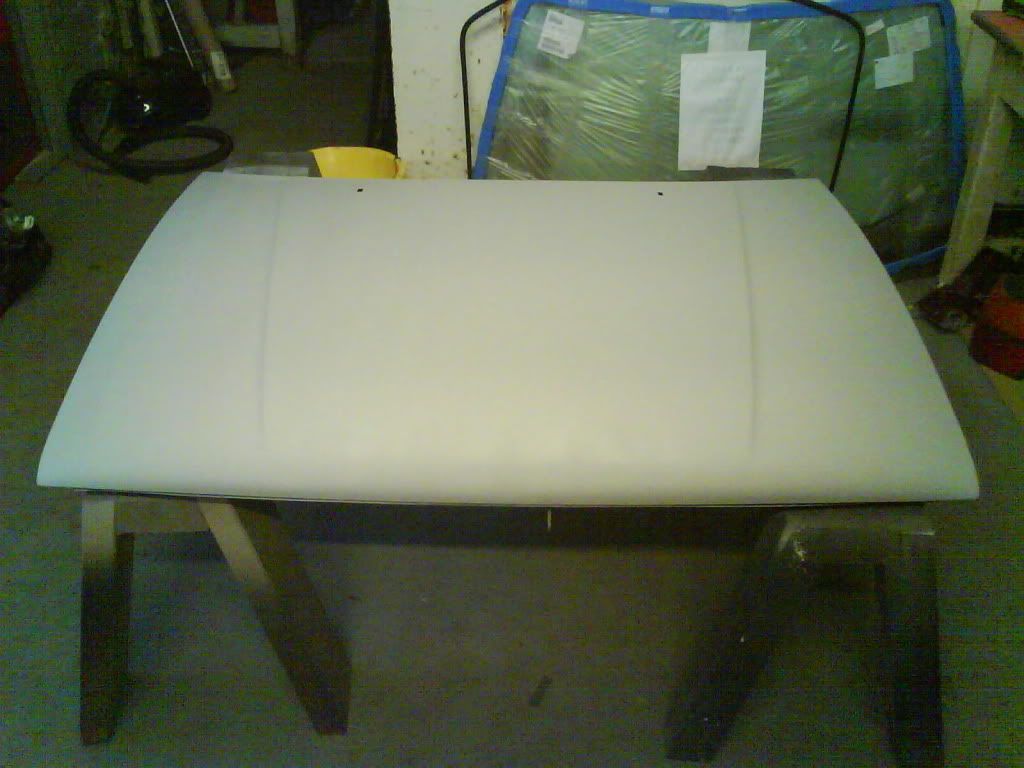
just got a few hours of sanding to do , then i need a major clean up of the shed and car to get rid of the sanding dust.decided to re do my bonnet from the ground up! at the time my bonnet was my first spray peice and i didnt know about the guidecoat sanding technique and as a result you could see slight waves or ripples of the paint around the filler area, it still looked ok but i knew it was there so f-it do it again!,
didnt feel guilty about buying this for myself as a x-mas prezzy
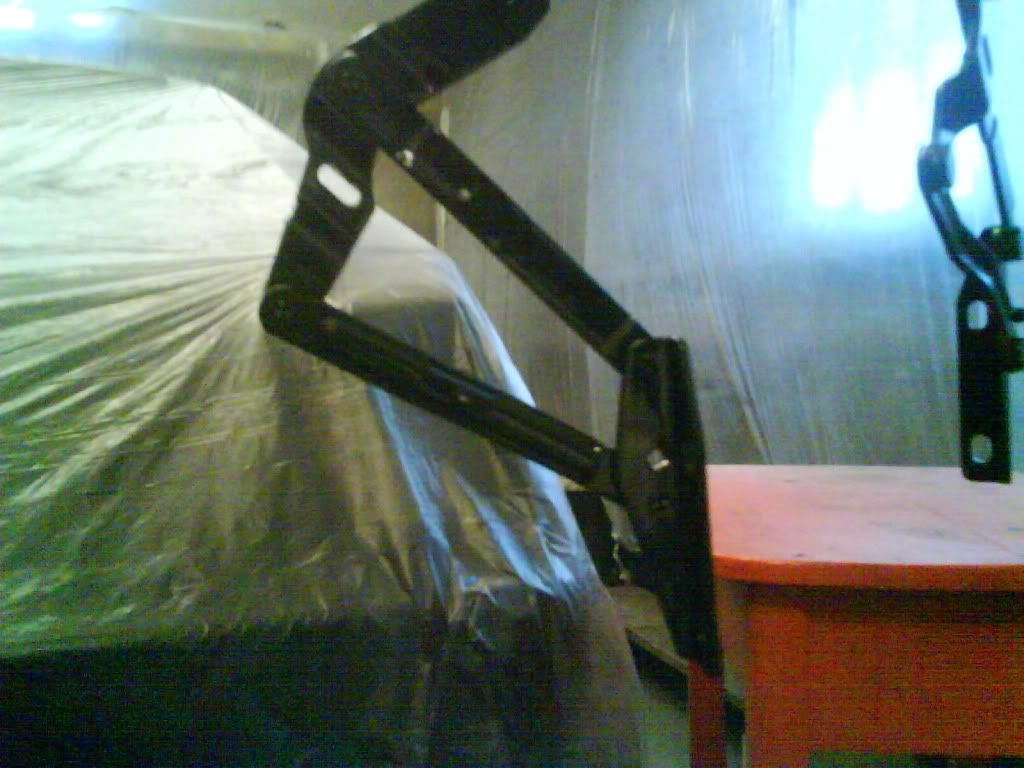
got all the plastic sheeting i need for a diy booth also got an electric garage heater from me old work. not sure what im gona do about
an extarctor fan , plan was to rig up a car rad fan..
-
let them bed in, im guessing you brought lowering springs? thats the only downside with them is getting the exact ones for the height you want,
if you want to play around with ride height you realy should get adjustable coilovers then you can play with the height to what you want
-
prety sure its the same way up as shown in the pic..
-
cheers, iv had a quick look at the lights and there earth connections and plugs all seem fine at the rear of the car, i'll investigate further, haha also noticed when the lights are on and i brake the indicators also come on at the rear{ but dont indicate it on the dash lights} ! haha my cars like freekn x-mas tree!! good job i dont have to drive it much..
-
cheers for the reply, anywhere in particular i should check first? i know on my corrado theres an earth point inside the tailgate where about 4 earths connect, where is this point on the mk3 golf? as i dont wanna start ripping the interior to bits to find it,
-
lol still havent looked into it yet but i need to asap! my friend was behind me the other night and he said my rear lights werent up to much as i was apparently indicating left but i was going right, lol i checked it out and yep the rear lights are also flashing! and the rear indicators are reversed looks very x-masy, this only happens when the lights are on, when there off the indicators just stop when you press the brake pedal, lol iv been drieving it for a while now at night had no idea my rear lights did that!!
any ideas on this? still gona check out the earths first.
-
instead of getting a new caliper, aslong as the piston isnt scored or marked you could just remove the caliper {which you need to do anyway} from the car, blow out the piston with an airline and replace the o-ring/seal..im assumeing the leak is comming from the piston,
-
i dought it would fit as it says the disc diamtere is 239mm,
im prety sure the mk3 golf vr6 started out with 280mm discs and then {from 1995?} they made them with 288mm discs, so measure your disc and see what size you got, then your best bet is to ebay search mk3 vr6 breaking and message the seller.
-
sound, cheers i'll have a butchers..
-
cheers for that lukey, im guessing you have vdo gauges aswell? any chance of some part numbers for the sender? so many to choose from, also on normal driving what is your oil pressure, just found a sender like you mention except the low pressure warning comes on at 0.25 bar this ok? or to high?
-
hello, i plan on installing a voltage and oil pressure vdo gauges on my vr corrado, going to get a plate that will replace the cassette holder to house them, does anyone know exatly which oil pressure switch i will need?
heres the plate , turns out its for lhd but im sure they do it for rhdhttp://www.ebay.co.uk/itm/VW-Corrado-VDO-Gauge-Holder-VR6-G60-16V-Black-2Hole-93-/170605577843?pt=UK_CarsParts_Vehicles_CarParts_SM&hash=item27b8e28673
also is this what i need for the pressure switch to go in?
-
are they realy that bad to get out? i want to do mine at some point even though at the mo its ok, dont wanna start it then end up snapping a bolt or cracking a flange and basicaly makeing it worse..
-
people seem to swear by mt90 gearbox oil, i used it in my gearbox oil change a few months back, i didnt have any problems before or after the oil change, yea theres two plugs, cant remember the size, just make sure you dont get confused with the engine oil sump, also make sure you can un do the fill plug which faces towards the front of the car {you realy cant miss it} before you drain, would be abit of a bich haven drained your oil to find out you cant fill it up, think you will need 2litres of gearbox oil although it wont use that exact amount,
-
cheers, pete where abouts have you got rust?,
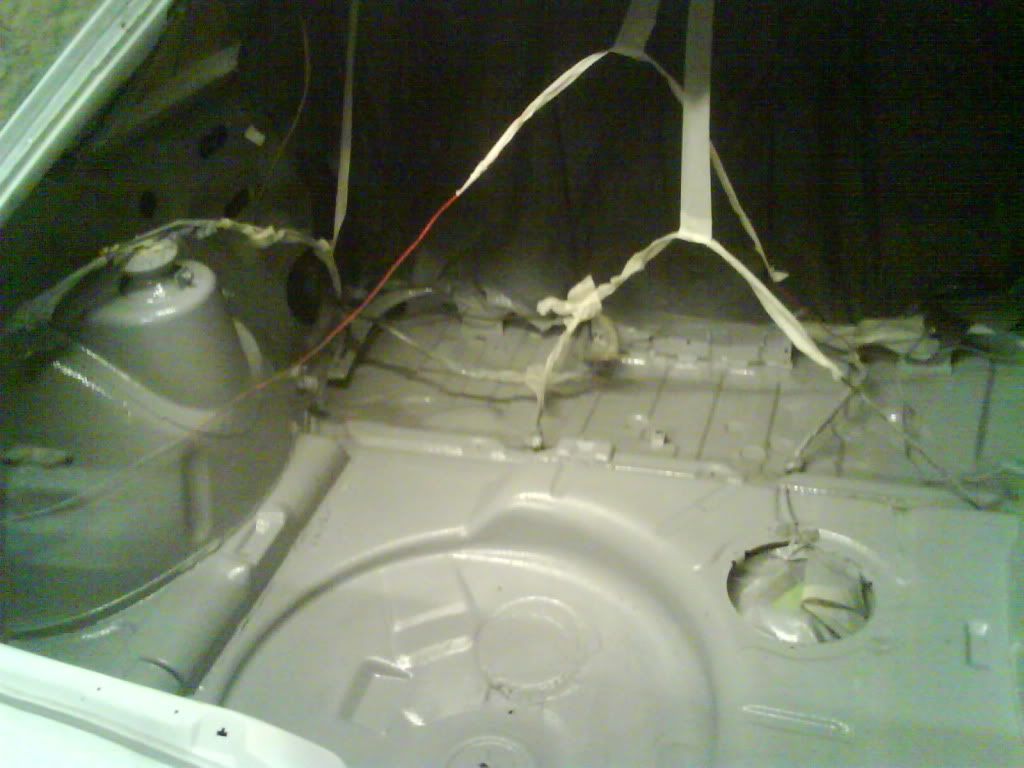
yea rich i'll get some pics up when i do, wont be until early new year as im not bothered with that just yet, heres the hole
i was underneith and saw some fibre glass filler, eh hello!
removed it and found this!! luckily its not rott, seems to have drievn on to something, idealy i need a section cut from another corrado to weld into this, but i think the best bet is to cut it out to where its good and get my own metal in there and tack it then beat it then tack it some more and beat it some more,
and yea if i was you i would make a start on cutting that window out so you know how bad it is, if i would of left mine damn next year wouldnt of been a good year for my corrado,
-
cheers, yea man its nuts, seriously i had a rough idea that it would take awhile but the time scale is probably 3times longer then i anticipated, theres allways something else which needs preping which you should do at the same time which makes it even longer, i just cant wait to get the bull shht jobs of sanding out the way and on to paint so i can see my hard work! just hope i can pull it off
if i can get it like my bumper, man im gona be one happy chap! -
spraying stuff was collected over a few months if you want to learn, like i have get yourself some how to dvd's and it will show you the basics but you wont start learning until you actualy do it and make mistakes and then correct them,
the welders my m8's its a seigen 130 amp i think cost around £250 from auto elec,
compressor's mine which i got from bougard and harry,on special for £200 its a 50litre with a high cfm think its around 9.5 which is good for a 50litre,
spray guns and prep materials and paint from ebay, you want a 2k { two componante paint} primer and then your colour base coat then you want a 2k clearcoat to give a decent long lasting finish, no welding on sills but i will be doing some underneith as theres a fkn hole from a previous owner which must of driven onto something ! absolute idiot!, be warned if you do want to get into bodywork it is very time consumeing! seriously its on par with cutting grass with tweezers.and in some cases its actualy easier/less money just to sell your car and buy another one with a better condition body, luckily your mk3's prety solid, you better sort that window out soon eh!
-
dunno that link didnt realy work,
http://www.eurocarparts.com/ecp/p/car-parts/engine-parts/belts-chains-and-tensioners/car-drive-belt/?202221035&1&335d05917e9ac0605d6a0b987b5d276b43b9b4c5&000108 the 2 belts that stick out to me is the one for £18.00 and then theres the one for £37.00 , at a guess idd say that belt is for aircon models and the cheaper one is for none aircon models, them belts are good though, probably best you phone them to get the exact one you need,
-
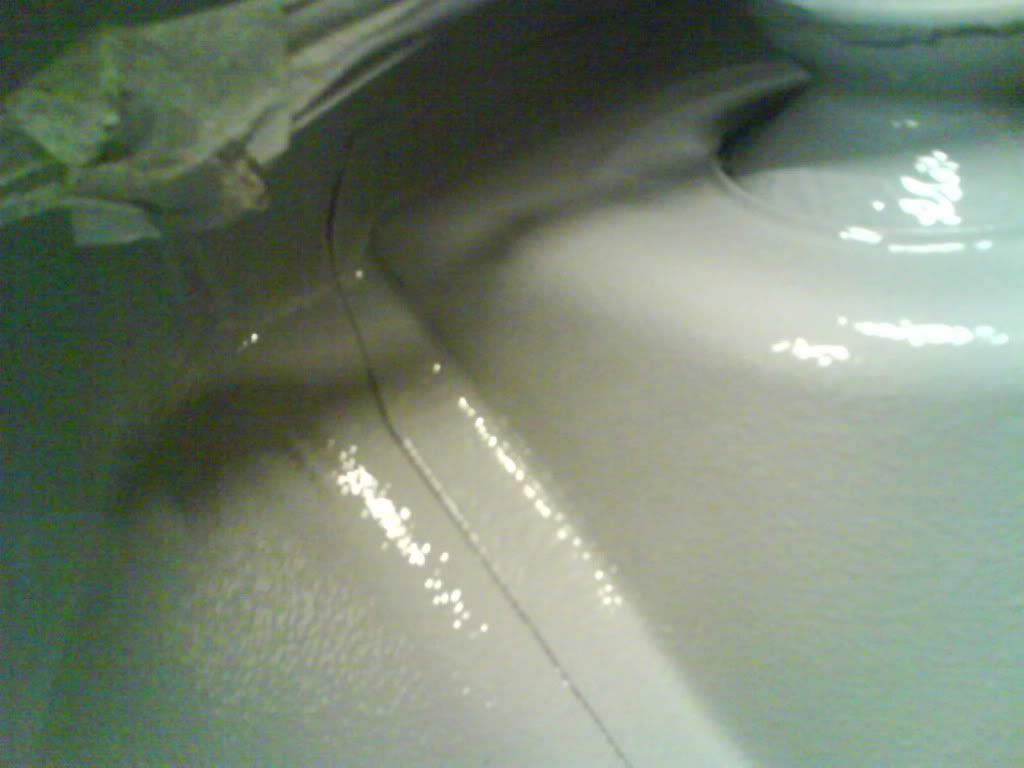
got the boot preped to a certain degree, im not wasteing my time on something that cant be seen so i just sorted the rust around the abs sensor grommits and went to town with u-pols gravitex,
this is the texture it produces,
-
i got a continental belt from euro carparts, idd avoid cheapo belts or cheapo anything as you usualy end up replaceing it with the expensive oem part anyway, buy cheap buy twice
-
any questions feel free, im not a pro infact this is the first time iv done anything this big, cheers


My Corrado. going 24v!
in Corrado
Posted
thanks guys, i realy needed this to work out with the amount of time iv put into it and it has, i can see why unfinsihed projects come up for sale but iv stuck through it, still loads of stuff to do but seeing it like this is motivation enough, i'll get some better pics once its out the shed but that wont be for another 3 weeks atleast,