


Vw_owner
-
Content Count
346 -
Joined
-
Last visited
Content Type
VR6OC News
Website Content
Profiles
Forums
Calendar
Gallery
Store
Collections
Community Map
Posts posted by Vw_owner
-
-
ah thats what its for!! there isnt a valve or anything thats supposed to be here is there? i tryed looking on etka but couldnt see anything,
yea thats been connected up, ill keep hunting for airleaks but im certain iv capped the unsed ones off, we got one small rubber hose comming from the selonoid thats capped off next to the inlet manifold selonoid ,
also capped off the tee connection on the oil breather pipe, and the ones on the back of the inlet manifold,
realy cant see anymore..

-
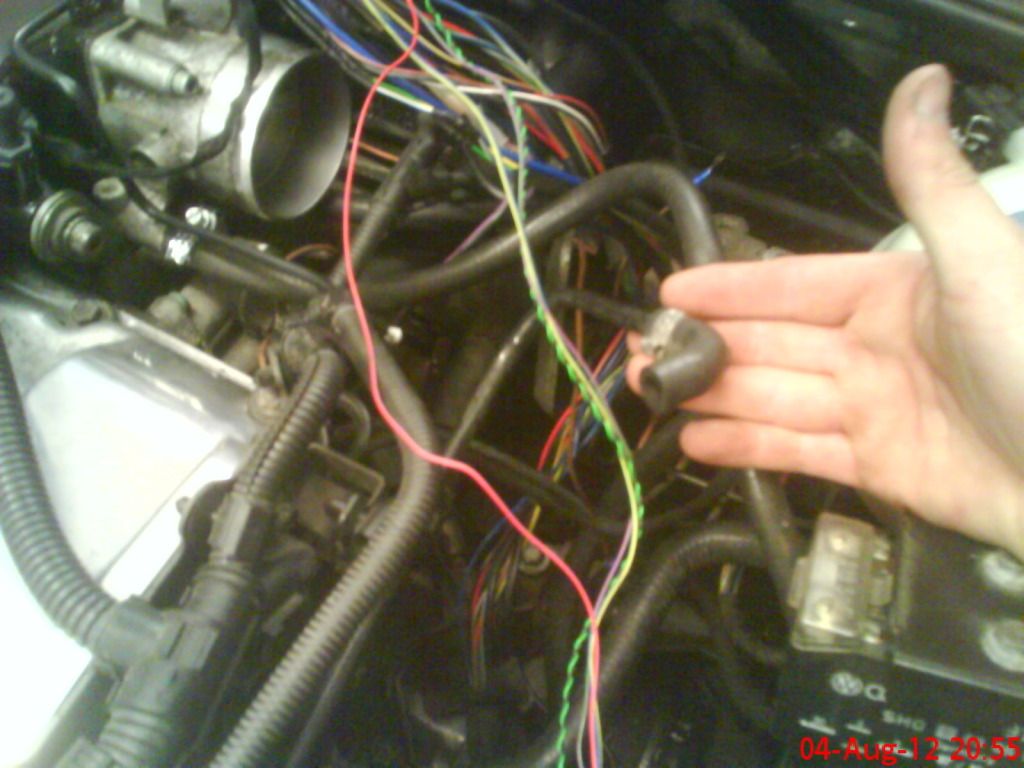
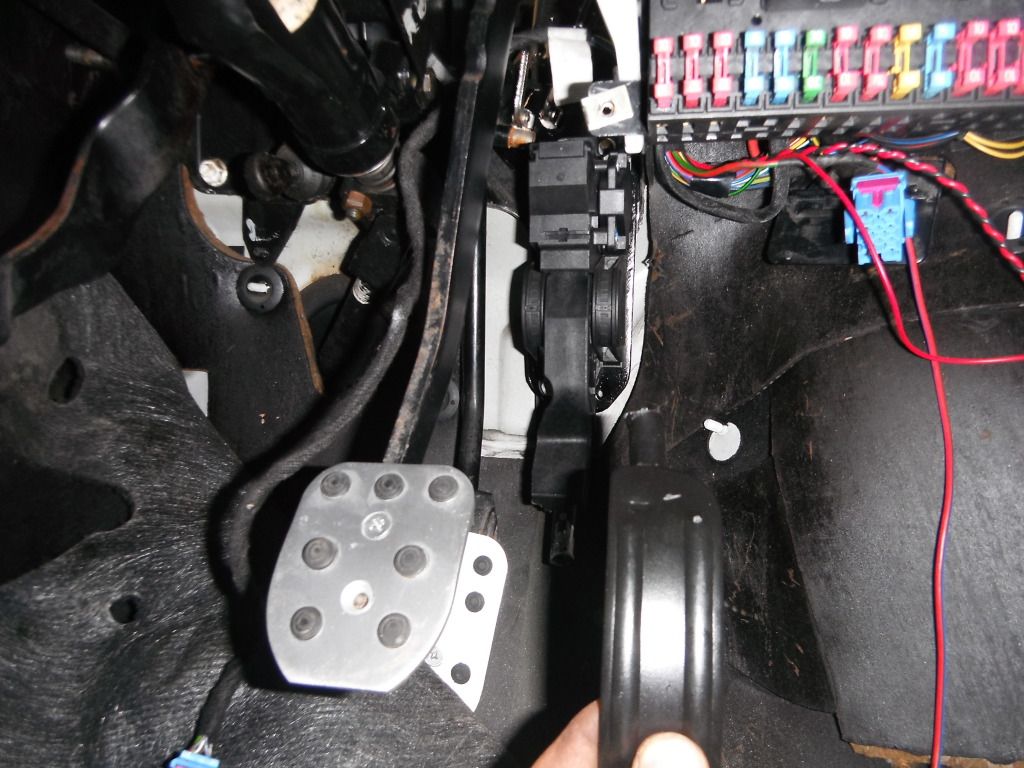
na man , its all mk4 stuff, well iv replaced the temp sender from one from my a3 to test and yep the old one is faulty, its now reading the correct temp on the ecu, it runs a little better but still not 100% after the intial rev it will cut out if you dont open the throttle for a few seconds, after that it will idle by itself but doesnt sound smooth, i think its possibly a coil fault, but wouldnt that already be logged? or do you need to take the engine past say 4k revs ? i havnet driven it as i want the wireing to be spot on before i put back the master cylinder and brake servo + bleed brakes. also i think the reason it threw up the fault 17925 was because i had relay 32 in place of 109 as i have now removed the loom and checked the relevant wire pin 23 to G1/07 and its all good, So i think next step is to refit and use relay 109 and scan the bugger! arghhh!!
-
as p1553d as i am about this, im not one to name and shame , it was his first 24v loom, and i should of waited for rub jonny to do it in the first place as hes done a few 24v looms, luckliy johns helping me through this nightmare! hes told me how to remove the 17925 fault so going to do that inabit and then scan it without the temp sender to see if theres a differance, wireing to the temp sender is good,
-
cheers, well getting some where, according to the ecu the engine temp is at 80 degress! lol thats not right, so atleast thats a starting point for more fault finding..
arghhh! just got to stick with it, the initial start up is silky smooth though after that its absolute Bol-X
-
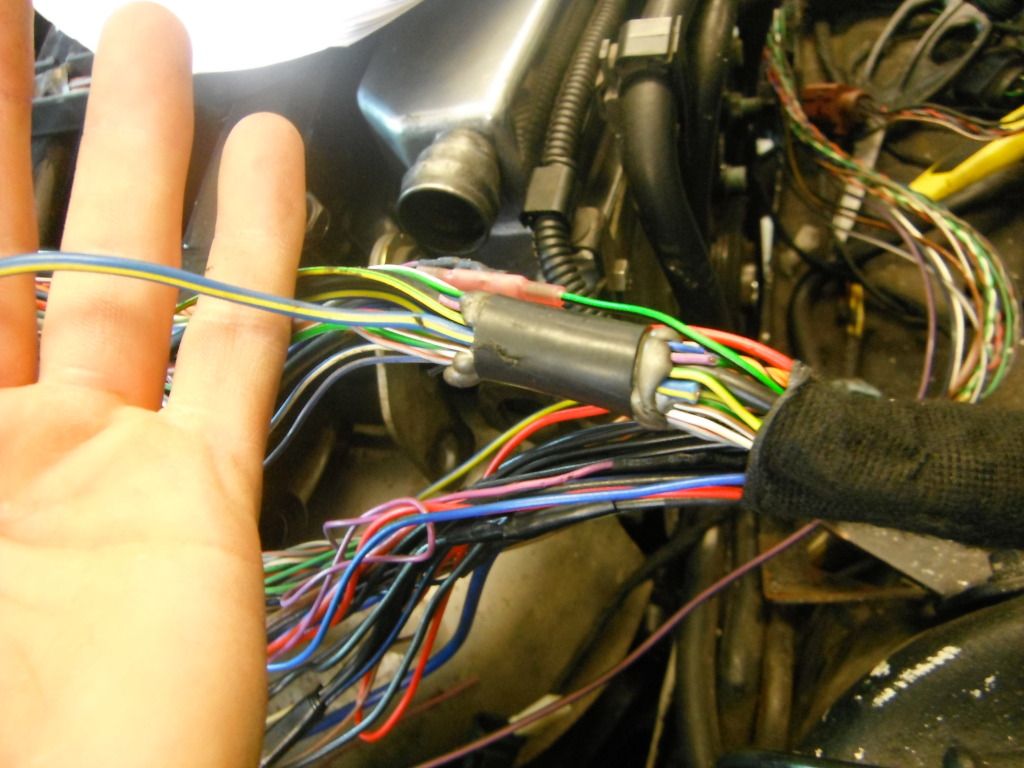
thought idd update, still no luck on why its running like crap! and im getting rather p1553d off now as i shouldnt have to be dealing with these electrical problems! although found a wire from the lambdas and the maf which should according to the wireing diagrams be going to E30/E7 but instead ended in a bundle of glue,
i was informed to hook it up to the G plug {cant remember which pin } realy thought that would solve my problem , Although the faults for lambda and maf are now gone and a new fault code has appeared so iv swaped 3 faults for 1 , getting there slowly but surely !!!
new fault
17925-main relay (J271) electrical malfunction P1517-004- no signal/communication
-
it does lagg there but its running like crap right now so its probably not helping matters, probably down to a vac leak or the throttle body ?
dont know yet havnet looked into it just getting the wireing back in properly but might need to pull it back out again to sort out the coolant temp sender to dash wireing, arghhhh
-
strange it works evry where else, its from photobucket, ill put up a direct link see if that works,
this work?
http://s1206.photobucket.com/albums/bb441/chris2fer666/?action=view¤t=Shestarts.mp4
-
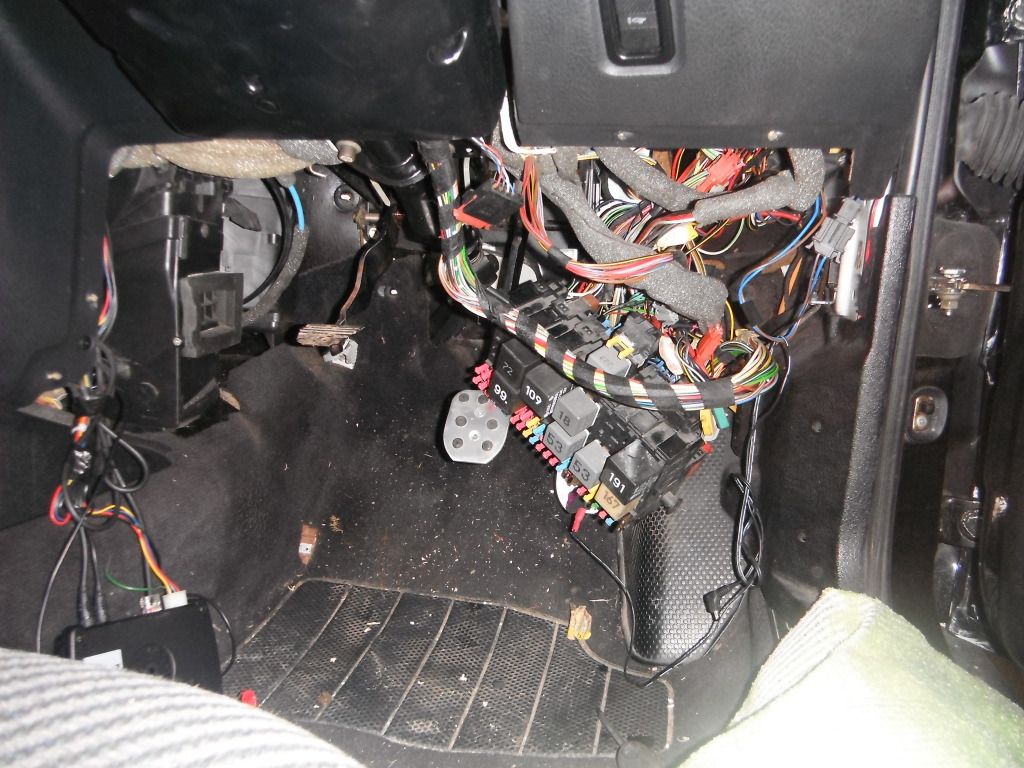
cheers guys, so far idd say it wasnt difficult but it did take me awhile to get the down pipe how i wanted it, i thought it was gona be easy but the space you got to work with is tight! but then again you guys could always buy the conversion down pipe but then you would still need to sort the DBW pedal out with chopping and welding so as long as you can cover that you should be fine, electric wise yea it was a nightmare as before last saturday i had never even removed a fusebox plug before! let alone find a fault in a conversion loom , so im not exactly experianced with electrics but im willing to learn and now iv got a prety damn good understanding of how it all works,
so its all good!, if you do go 24v appaerantley the BDE is the better one to go for it has individual coils and VVT not sure if the other versions have vvt or not? but you can easily buy AUE {coilpack version} full engine looms and ecu for under £100.00 where as BDE is harder to get, if you want someone to do your loom then Rub jonny is your man , pm me if you want his email and ill pass the info to you, cheers
-
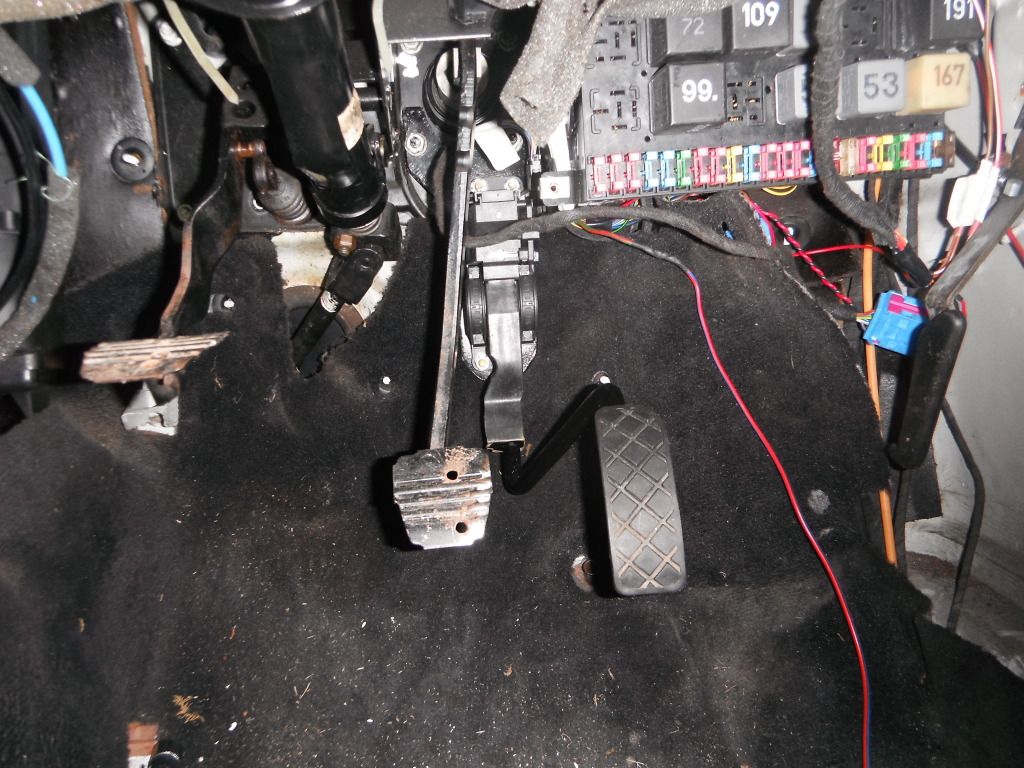
been hunting down an electrical gremlin that was causeing my car not to start , the culprit was pin 21 which was just left bare with the rest of the un used wires,
this was the reason i found the fault! so thanks to ever posted this up!
runs a little lumpy, possibly a vac leak , dunno just happy its running.
little video
-
brought some heat wrap for the dp aswell,
now on to the fun stuff!....
organised mess!
took me a few days to organise the loom to where it needs to be,
the bracket for the throttle pedal,
welded studs in from behind, for some reason they look rather drunk in this pic,
heres the gap that needs to be made up to suit, basicly a huge offset to bring to the right and up.from what iv heard about the dbw pedals is there prety sensitive so in thoery with this one being made longer it should calm it down abit.
with a bit of cutting abit of rod and some smoothing and its looking rather good,
-
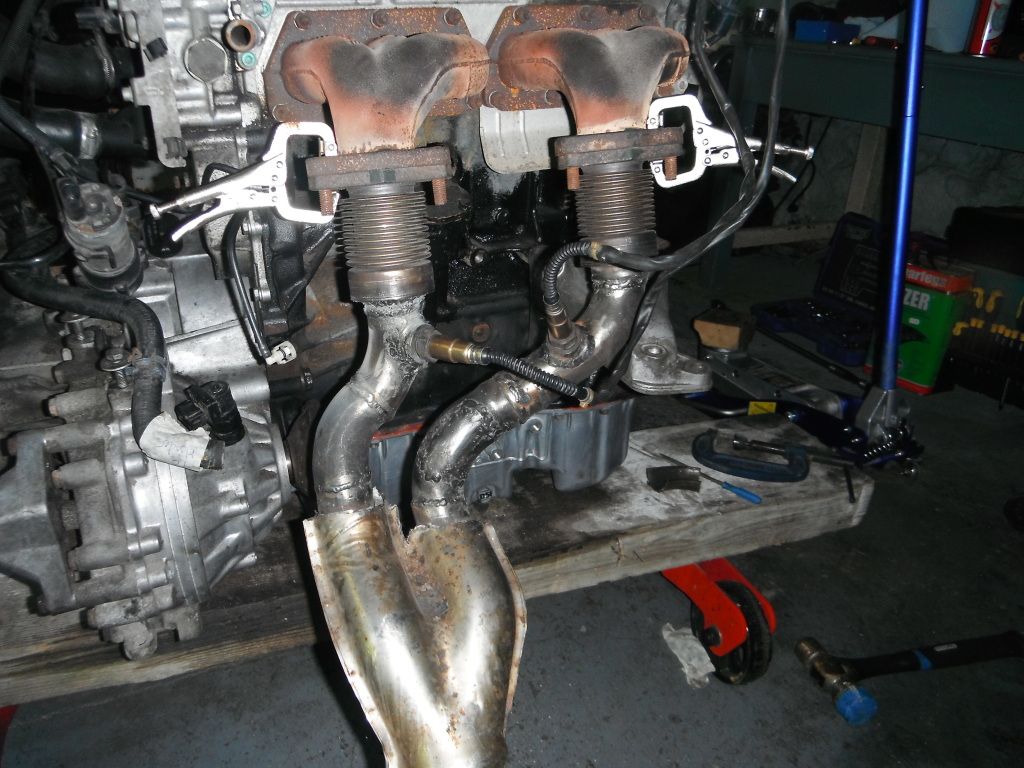
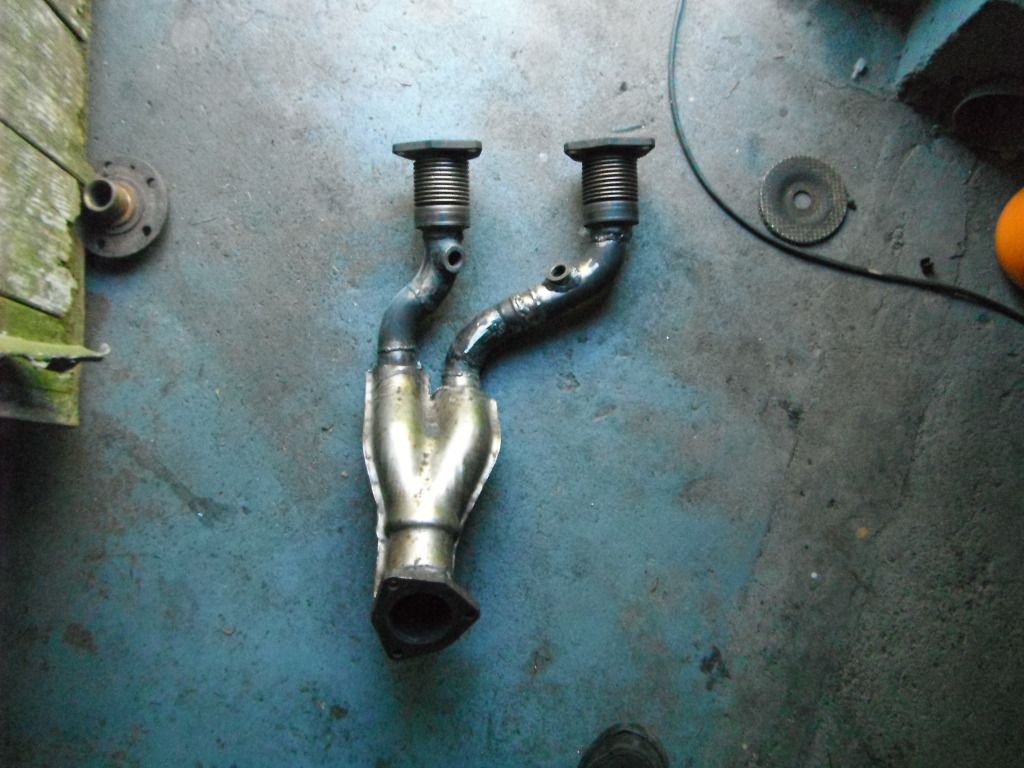
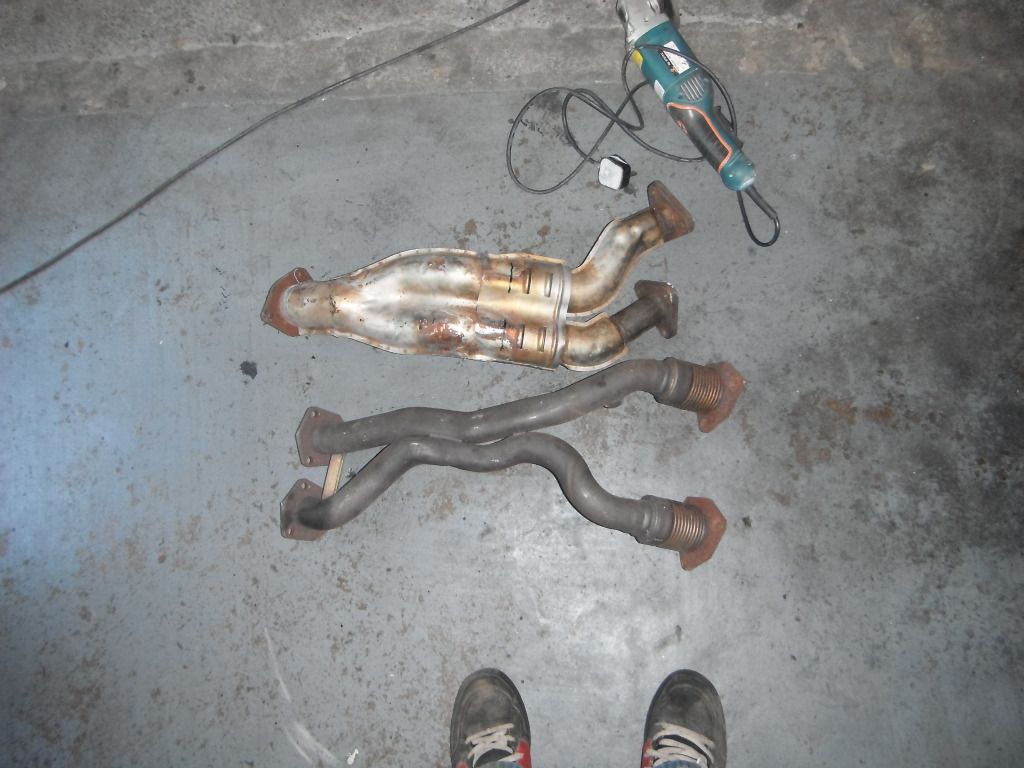
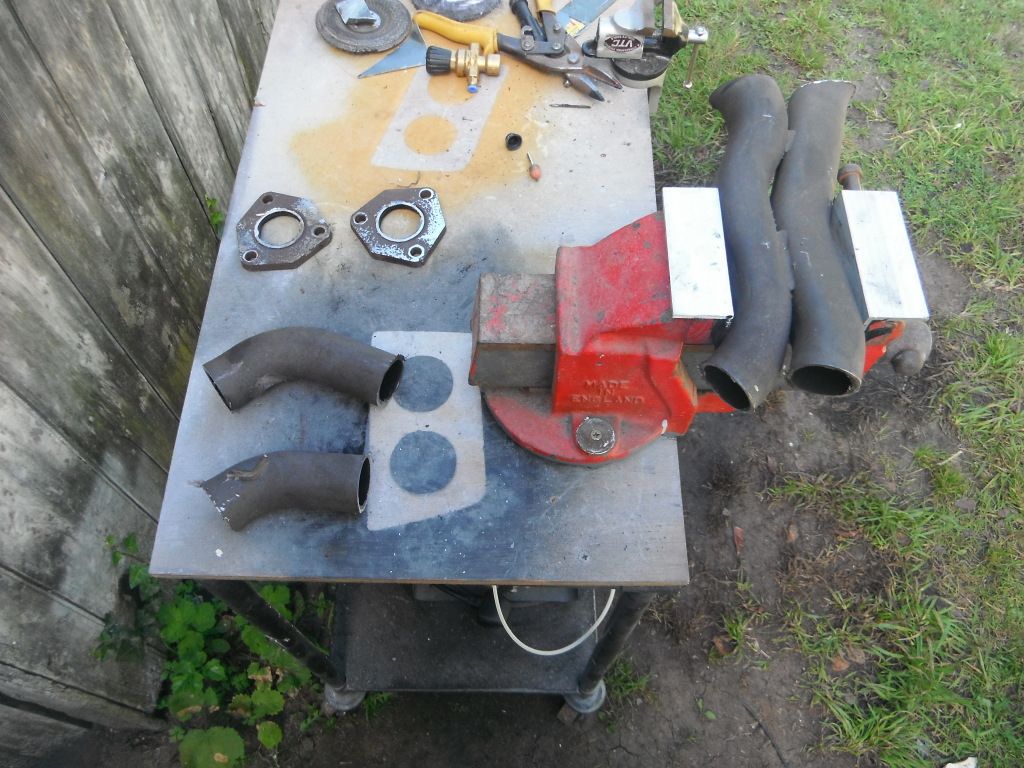
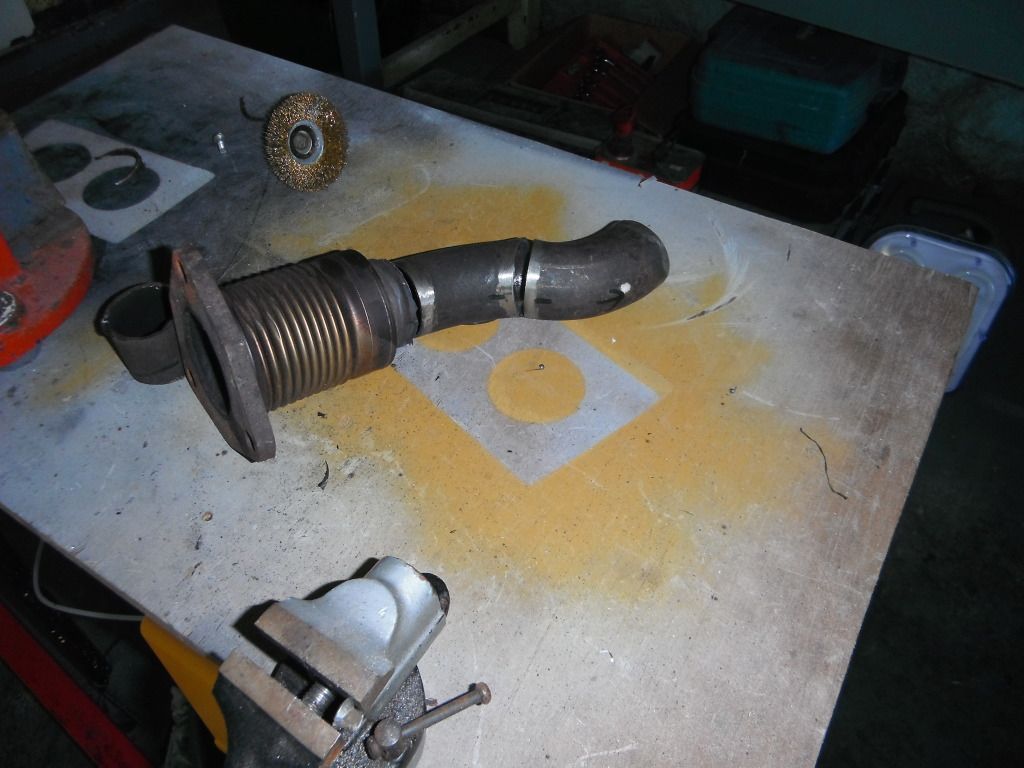
down pipe done, cant say it was easy,
total cost of just over £50.00
24v down pipe on ebay which nobody bid on £22.00 inc postage!
mig gas x2 = £36.00
but atleast i could say " built not brought!" if i ever wanted to .
-
thanks for doing my ecu work , my funds are limited which is why im makeing the downpipe, out of the two i already have,
-
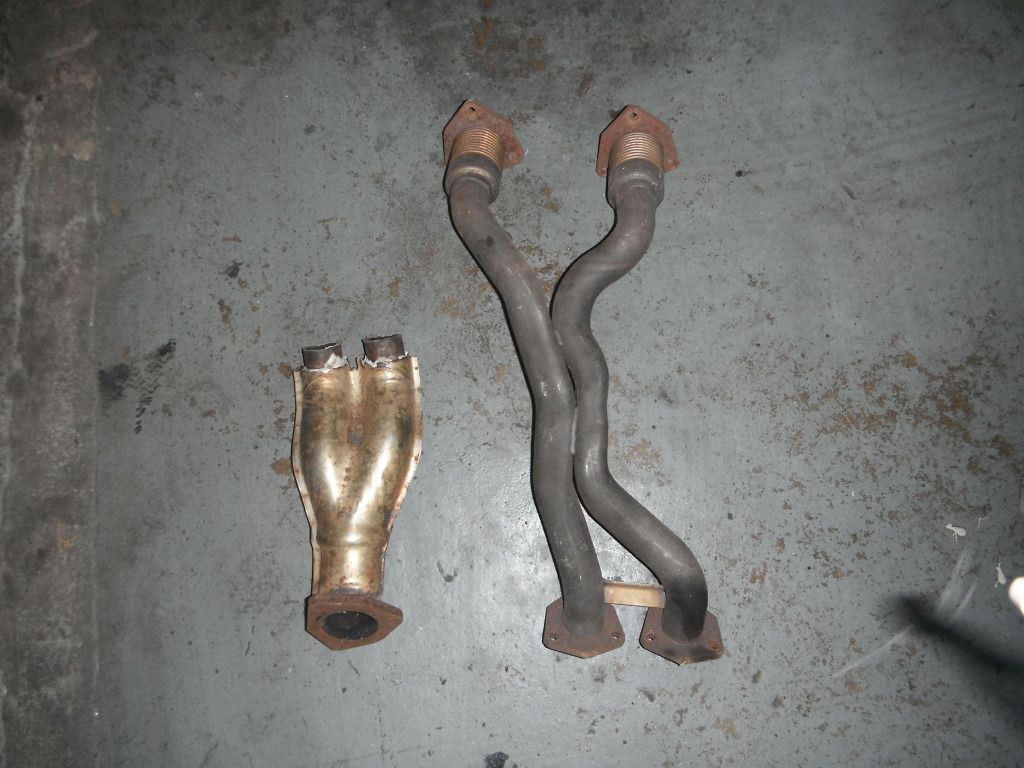
one side ready for welding up to the flexy flange,
welded bth sides as much as i can for now as i ran out of gas!! the big hole is where i cut out the lambda Boss as they need to be repositioned once everythings welded up, its just a case of drilling 15mm holes and then welding the two boss's in where i see fit,
-
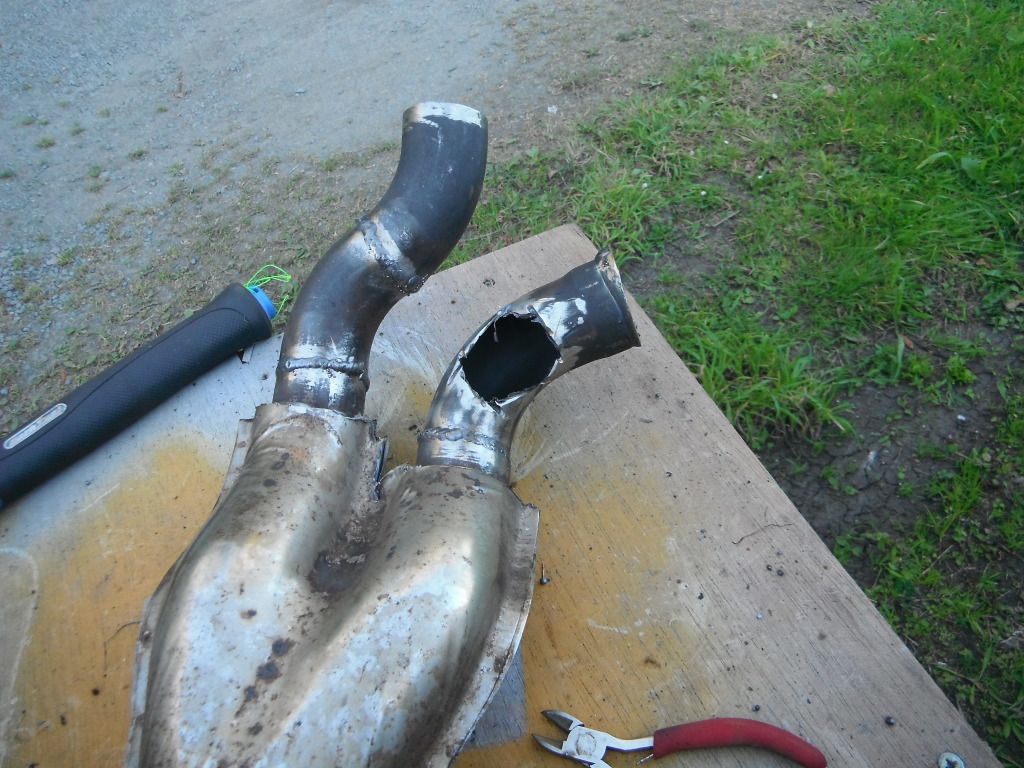
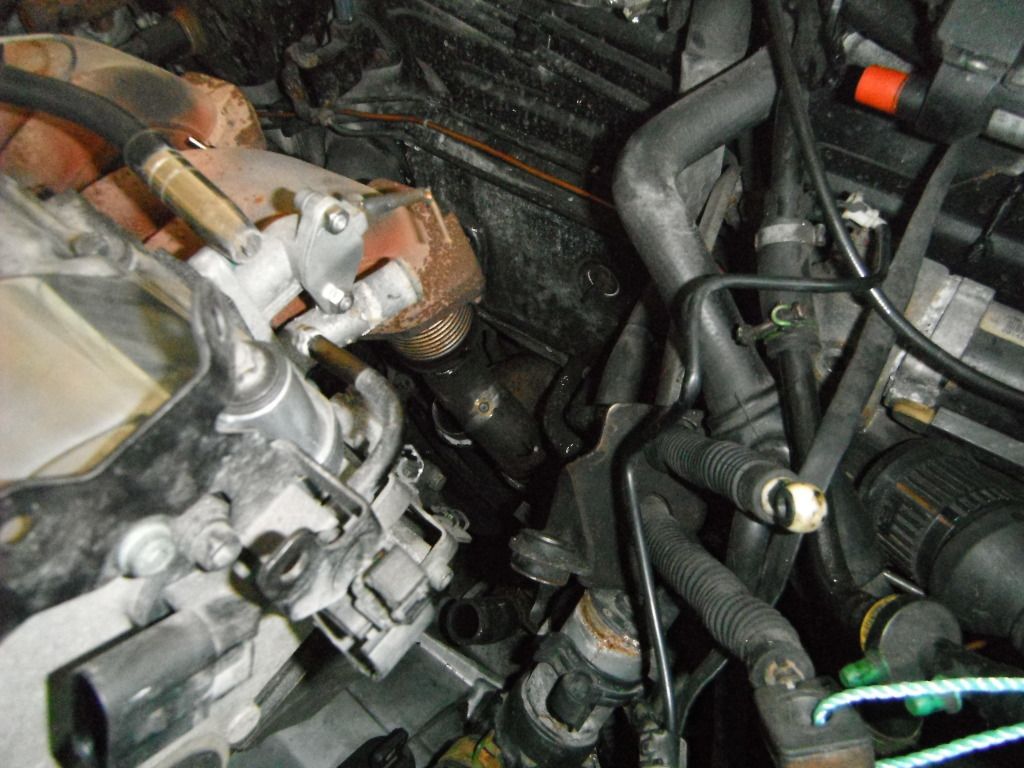
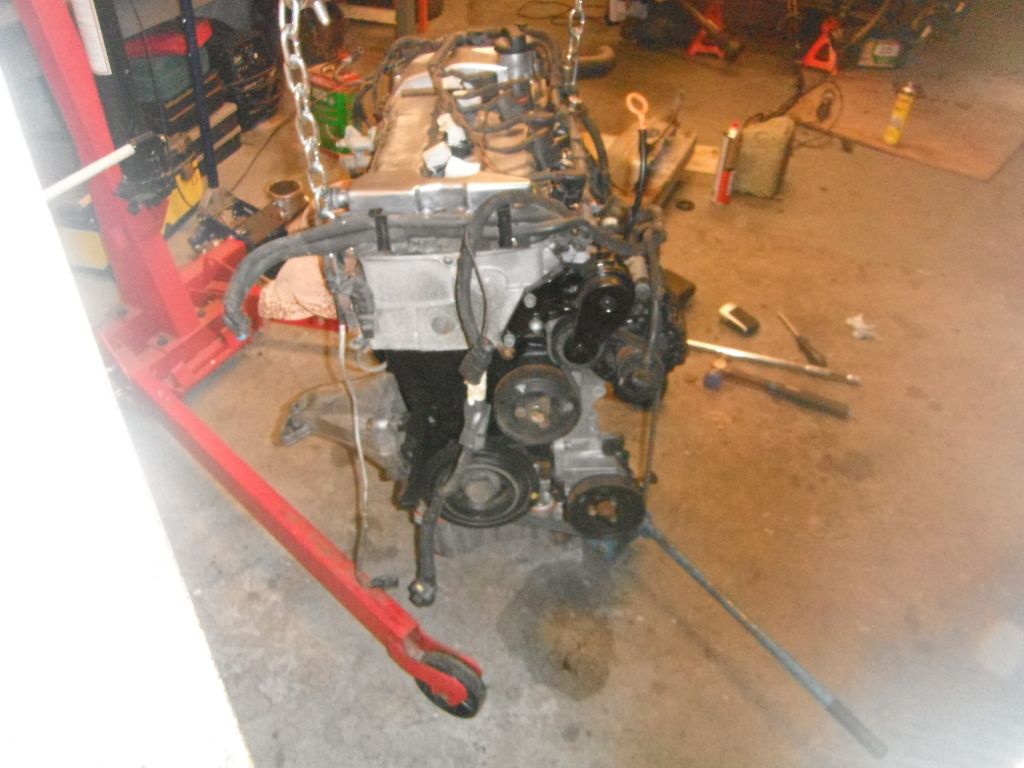
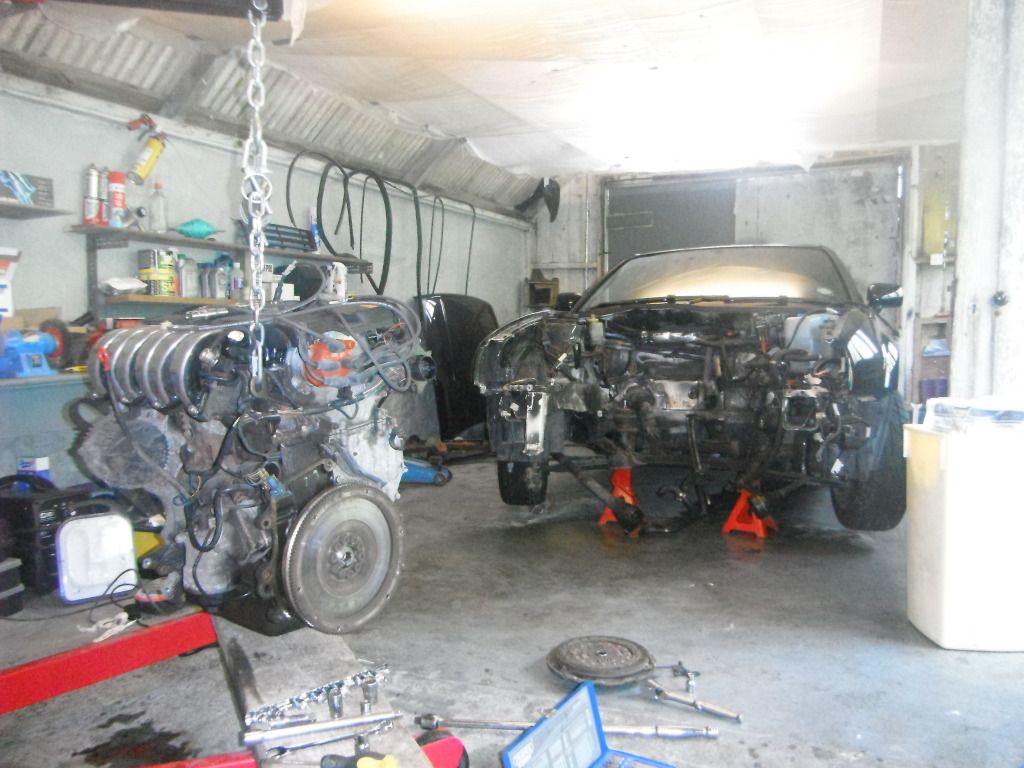
got the engine sat in place yesterday and made a start on the ball ache that is the down pipe! , wouldnt be as bad if i had fresh tube and a pipe bender to work with but all my bends and tube are comming from both the 24v DP and the 12v DP cut up in bits!!,
heres both DP'S side by side,
so to make a start i cut the 12v down to get me into the bay,
and propped up the exhaust from the underside makeing sure its all centered and exactley where it needs to be,
at this stage the engine literaly threw itself in! god bless concrete floors!
and heres the gap i need to fill,
need some 45 bends so just cut them out from the 12v and 24v dp's
then try and get everything aligned properly and roughly tacked up,
-
realy wouldnt mind setting up a blasting cabinet, anybody done this ?
-
as thread title, anyone know the size of the banjo bolts? need some , cant seem to find them on ETKA either which is wierd, o
-
cracked on today, didnt get as much as i hoped done but still progress none the less
renewed the front brake hard lines, thought that was going to be easy but nope! i had to cut through the brake fitting in the arch, as they were just a rusted mess!
need to order another brake hose and 2 banjo bolts for them , anyone know what size they are? , got the copper hard lines fitted up to the arch's and ones capped off
ready for a flexy, so i best not forget about the brakes!
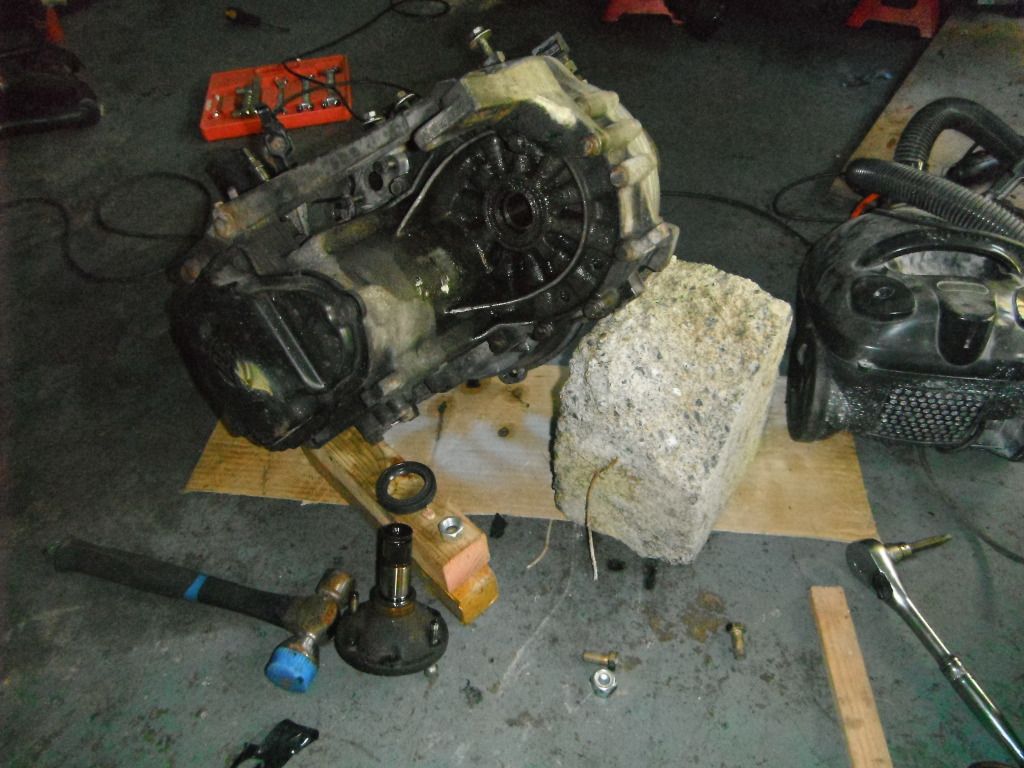
searching through a box of bits that iv slowly gathered over last year with the intention of fitting i came across a gearbox out put flange seal,
strange why there was only 1, so i fitted that to what i thought would be the hardest side,
pressed off fairly easy , although it wouldnt budge when i tryed to pry it off with a jack bar,
as it happens idd say this was the worst side any way ,
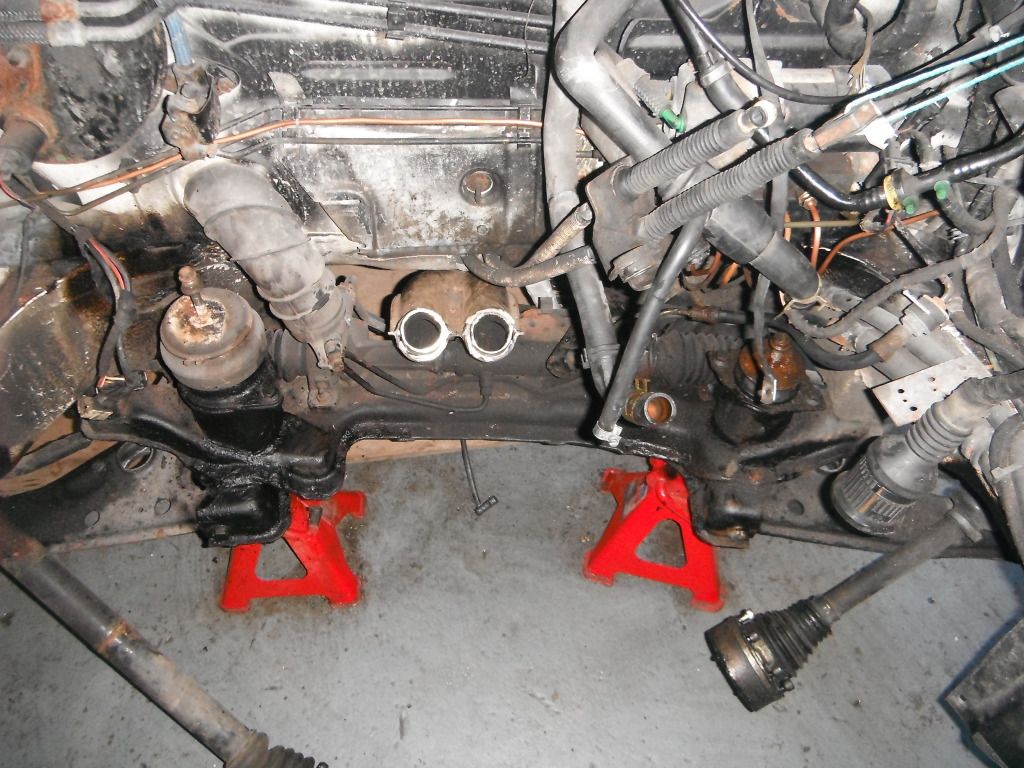
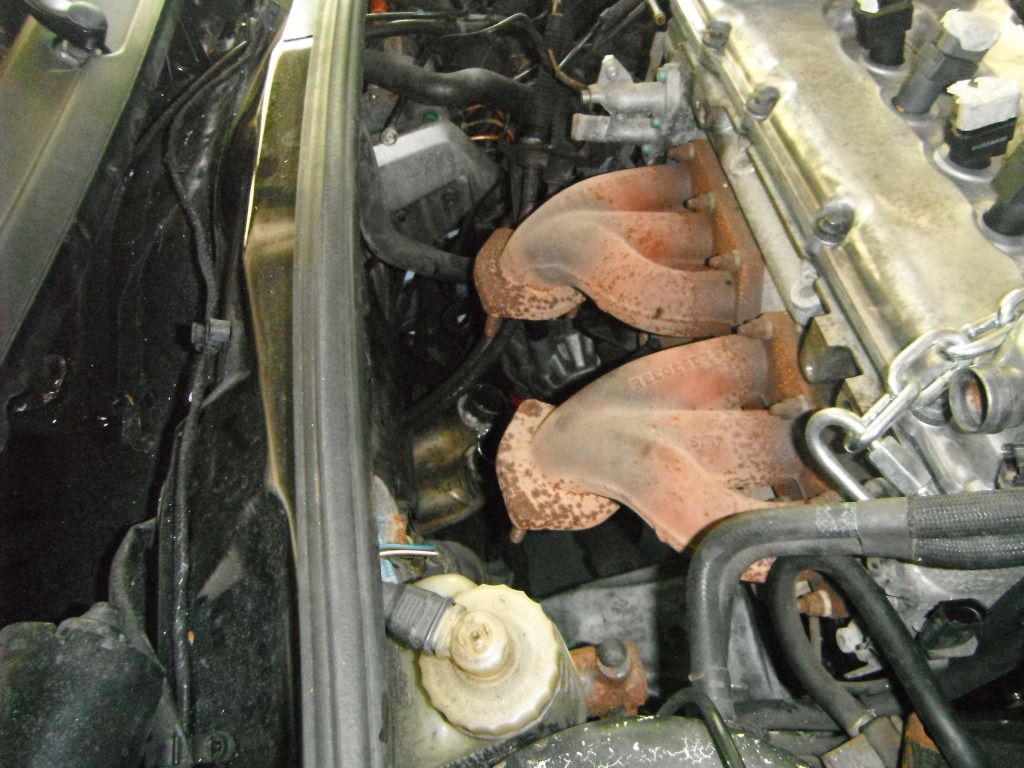
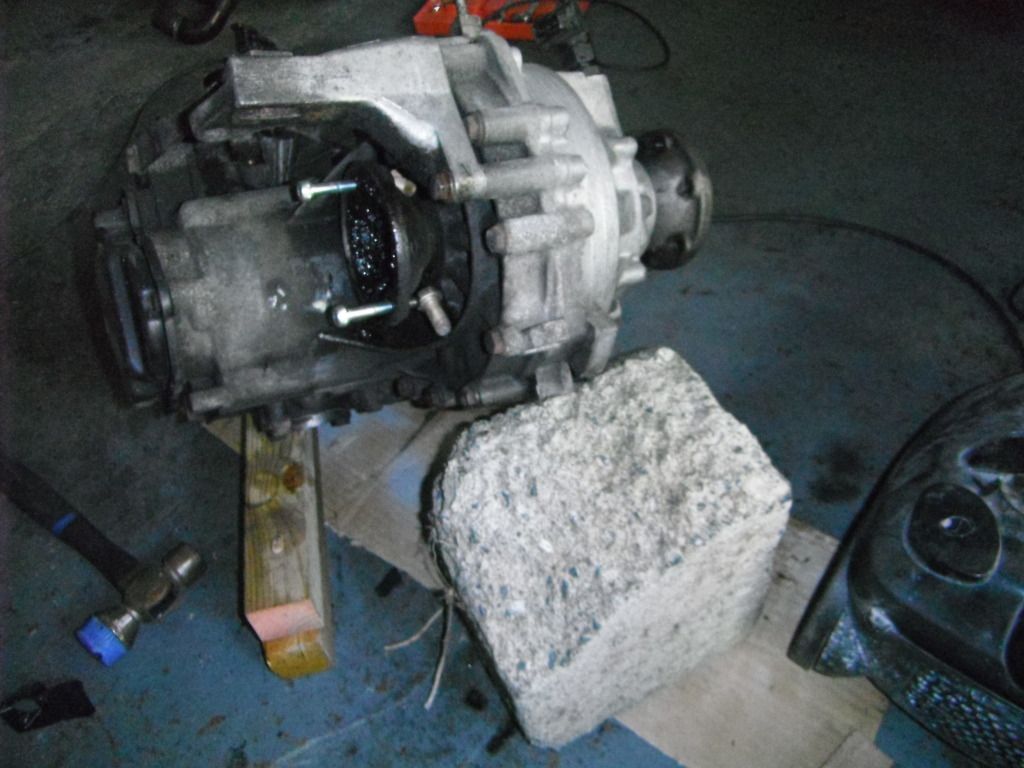
fitted the box & thermo houseing, removed the old mk4 header tank pipes & modified the front mount,
& fitted the rear mount, think tomo it should be sat in place for a look at the down pipe or i may fit new arb bushs!
-
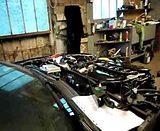
cheers, damn right! although as sick and wierd as this sounds im more looking forward to getting this wireing in and fitted and routed how it needs to be , its like a monkey thats on my back! just want it off now!, also its a wierd feeling, seeing the bay like that with no engine, i now have access to all those areas i wanted to tidey up before but i realy cant justify spending the amount of time it needs , im deffo gona remove some of the rust on the sub frame and replace a kinked front hard brake line and the flexys, and the arb bush's also gona cavity wax the parts of the bay that get affected by water, wont be long until it fires up , just hope i dont have any wireing problems thats beyond my capabilities
-
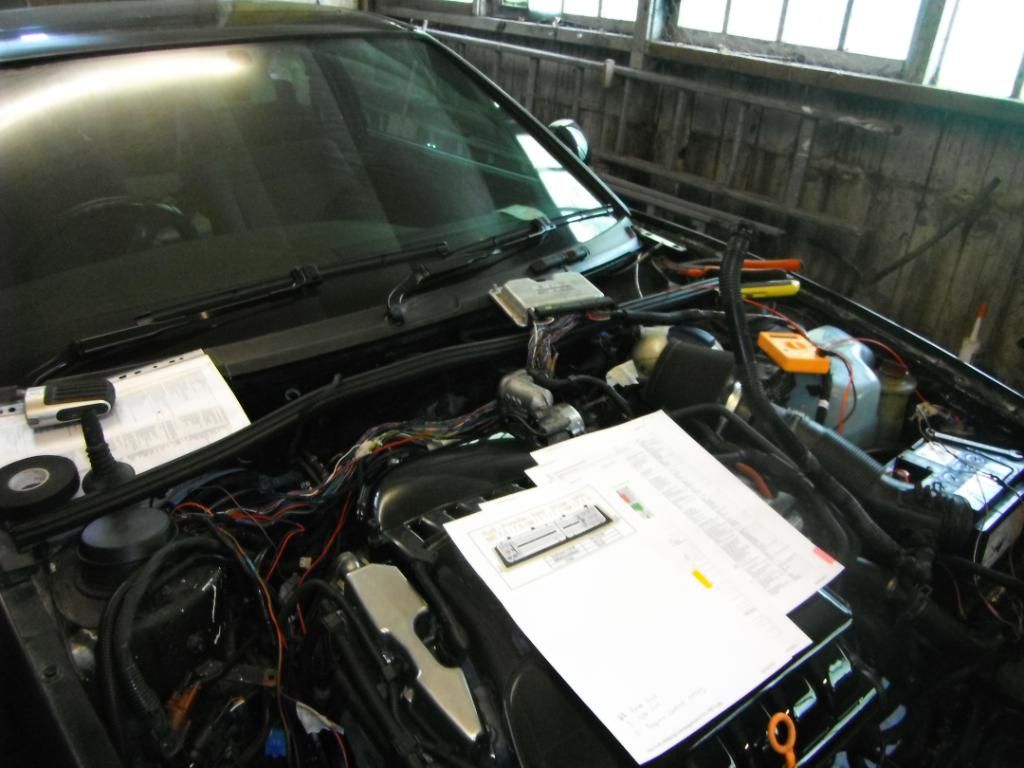
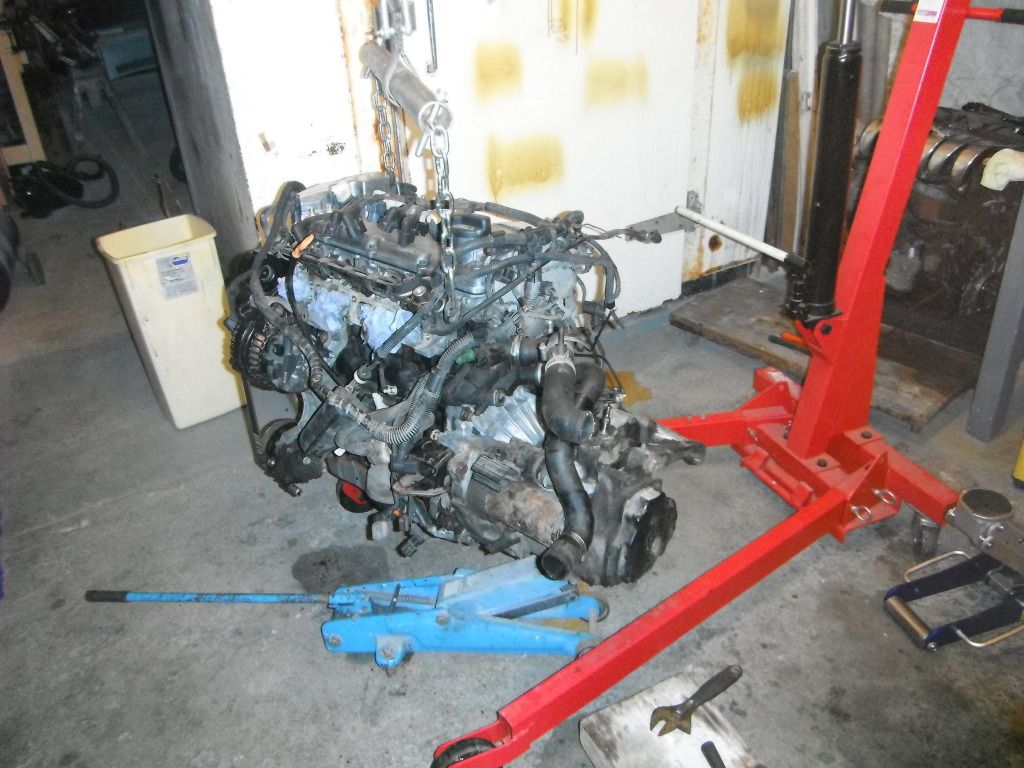
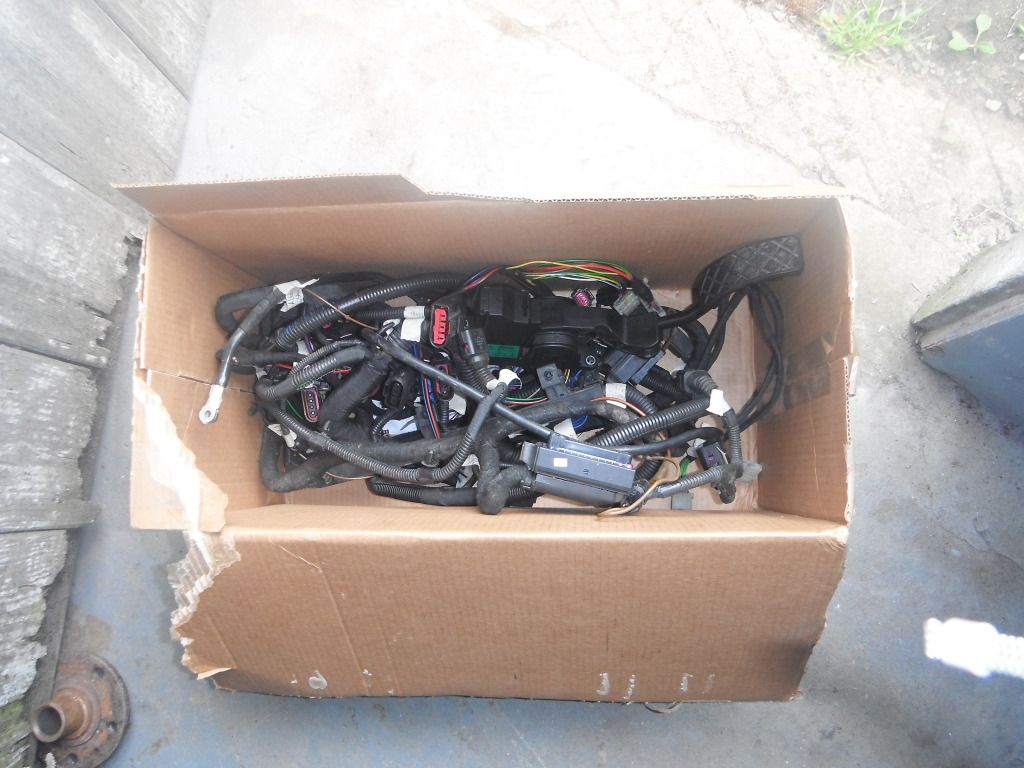
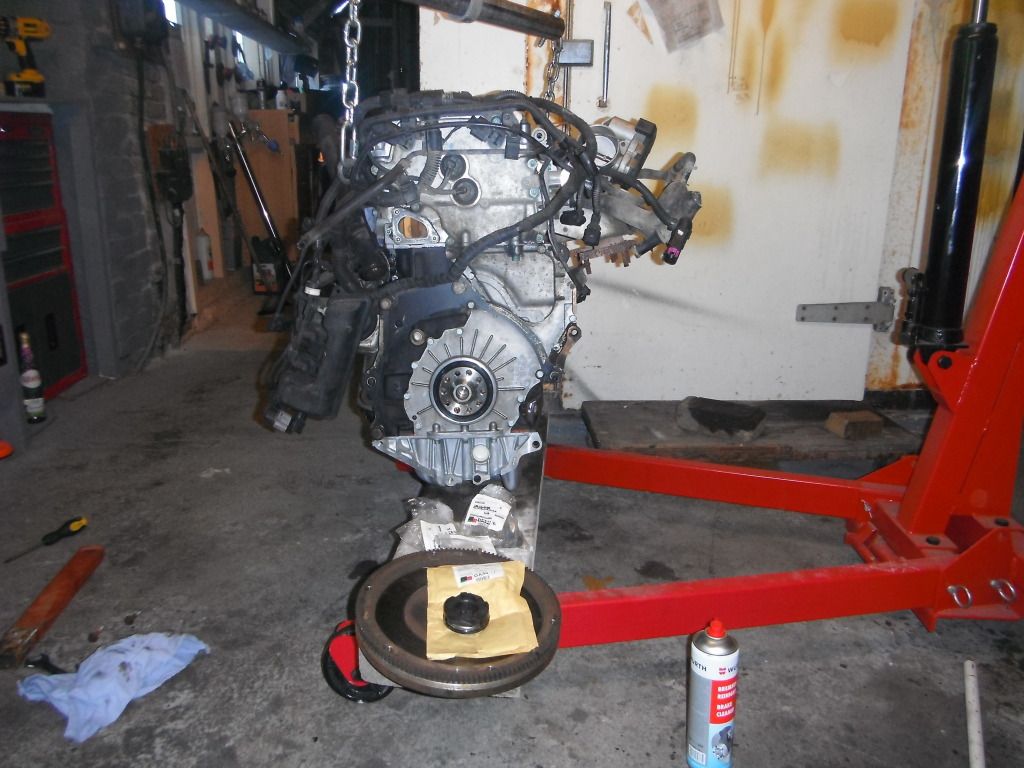
finnaly after months of waiting the posty dropped off this,
so stoked! , iv still got to make a few live and ign live connections and make cut/add wire to certain lengths depending on how its routed so its not plug n play but all the plugs should be in the right place which is the main thing.
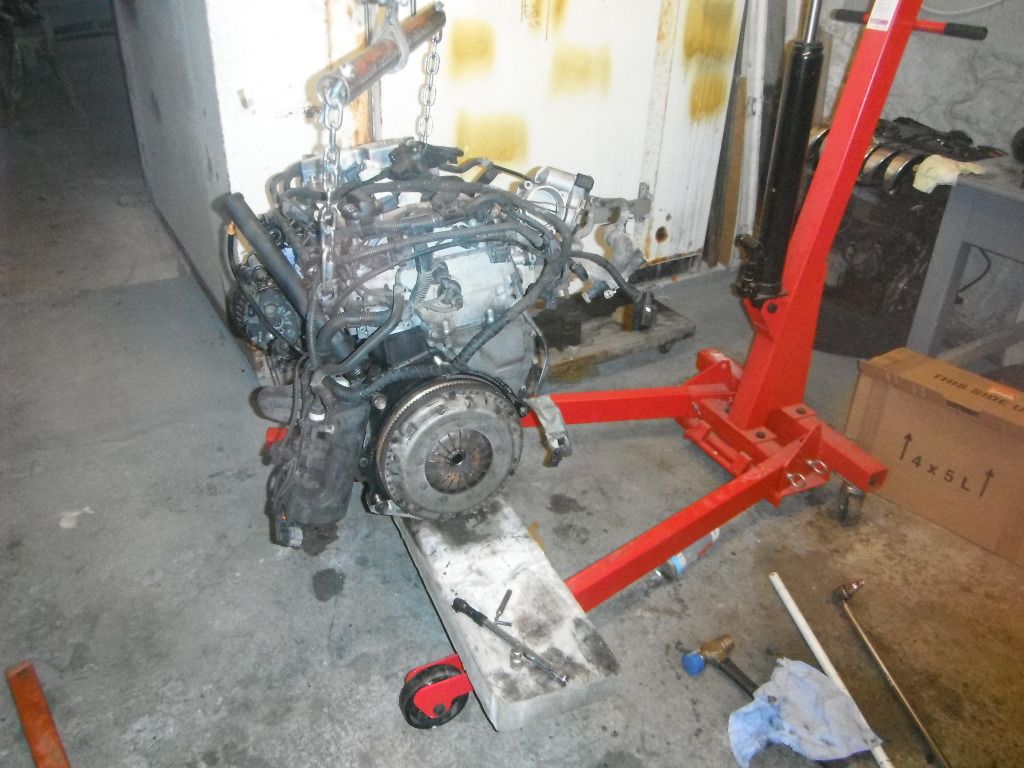
useing my old clutch and flywheel along with new flywheel and pressure plate bolts
got the clutch fitted and swapped over the 12v pas pump,
and fitted the new aux belt,
gearbox was/is so filthy!! gona finish cleaning that up,
-
does the engine from a golf 4 motion fit into the mk3 vr6 ??????
yep it fits straight in useing the same mounts and gearbox as the 12v vr6, you have to modify the down pipe or buy the conversion DP , the real task is getting the electrics working as the mk4 loom needs spliceing with the mk3 fusebox side engine loom for it to work , i had my immo and immisions stuff defeated in the ecu so i can use my original clocks and not have to worry about the immobiliser, if you can sort out the wireing yourself then i wouldnt worry, but if you need to have someone do it for you then make sure you get the loom back in your hands before you start tareing your car to bits!
-
. Just goes to show though the only person you can trust to look after your car properly is yourself.
agreed..
-
could be ya MAF sensor, vag com is a program that allows you to communicate with your on board diagnostics for vw audi
-
jack it up and put a block on the brake pedal so the brakes are on {or have a m8 put the brake on} and grab the wheel and try to turn it clockwise and then anti clockwise to see if you can get any play out of the caliper, if you know what i mean? could be the guide pins on the caliper carrier
-
, any idea how much fluid the system takes?


My Corrado. going 24v!
in Corrado
Posted
woo!! yep united M You were right , vac leak! wasnt my fault realy but
basicly i had hooked the vac pipe up to the brake servo correctley but i didnt know that without the master cylinder bolted up to it the vacum would just be open! . relay 32 instead of 109 was causeing that fault 17925 and it now idles and revs like an absolute beast!! and no fault codes are logged so happy
but unfortunatley need to fork out £200 for a new rad as its had a nasty repair job and is now leaking! cant win em all!